

DTF on Hats: Stop Edge Lift on Curved Caps with Gang Sheets
DTF works reliably on hats with a flat, seamless front panel, like foam trucker caps, and fails on seamed six-panel or unstructured dad hats because the center seam breaks even pressure. Getting a clean, long-lasting result also depends on using a cap platen or curved adapter, firm interior support, and the correct temperature, time, and peel sequence for your film.
TL;DR:
- DTF transfers are most successful on flat, seamless caps like foam trucker hats, while seamed six-panel and unstructured dad hats often cause transfer lift and failure.
- Accurate placement of artwork requires centering on the flattest area of the cap, keeping fine details away from edges, and previewing size to prevent distortion caused by curvature.
- Using a firm interior support, correct temperature (around 300-325°F), and a precise peel timing setup are essential to avoid edge lift, bubbling, and cracking issues.
- Common failures stem from incompatible blanks, insufficient support, or incorrect peel timing, with recommendations to test one sample before bulk production.
- For high-volume or detailed designs, investing in dedicated cap equipment or outsourcing to experienced shops often yields better long-term results than DIY efforts.
Table of Contents
- Which Hat Constructions Are Compatible With DTF on Hats
- Sizing and Placing Artwork for a Curved Cap Front
- Equipment and Setup for Pressing DTF on Caps
- How to Press a DTF Transfer on a Hat Step by Step
- Diagnosing Edge Lift, Bubbling, and Other Cap Print Failures
- When DTF Isn’t the Right Call for a Hat
- HandmadeOhio’s Resources for Custom Hat DTF Work
- Aligning Multi-Color Designs on a Curved Cap Front
- Keeping DTF-Decorated Hats Looking Good Over Time
- When to DIY and When to Order From a Pro
- Get Reliable Hat Transfers Without Buying a Cap Press
- Sources
- FAQ
Which Hat Constructions Are Compatible With DTF on Hats
Not every cap you can buy will hold a transfer, and the difference has almost nothing to do with the fabric. It’s about geometry. A foam trucker hat or a flat-front seamless cap gives you a continuous, slightly curved surface with no interruption across the printable zone. A curved platen can press that whole area with even contact, top to bottom, side to side.
Structured six-panel caps are a different story. They’re built from multiple fabric panels sewn together, and most designs put a seam right down the center front, exactly where you want to print. That seam creates a raised ridge under the transfer. When you press, the platen contacts the ridge first and hardest, while the fabric on either side gets less pressure. The transfer bonds at the seam and lifts everywhere else, usually within the first few washes.
Unstructured “dad hats” cause a related problem. Without a rigid front panel, the crown collapses under pressure, so the transfer never gets consistent contact across its full surface even if there’s no seam involved.
Before you commit to a blank, run a quick compatibility check:
- Look inside the front panel for a visible seam line or stitched ridge.
- Ask suppliers for an inside-front photo before ordering in bulk. Product pages often show only the outside.
- Confirm the printable area listed on the blank’s spec sheet, since some suppliers publish this per style.
- Order one sample cap before committing to a production run, especially from a new vendor.
That last step sounds like overkill until you’ve eaten the cost of forty caps with the wrong front panel. It’s cheaper insurance than it looks.
Sizing and Placing Artwork for a Curved Cap Front
A curved surface punishes sloppy layout in ways a flat T-shirt front never will. Detail that looks fine on a monitor can blur or crack at the edges of a cap because that’s where the curvature is steepest and the fabric stretches most under the platen.
Most flat-front caps give you a printable width around 3.5 to 4 inches and a height of roughly 2 to 2.5 inches, though you should always confirm the exact printable area for your specific blank rather than assume. Treat the outer edges of that zone as a buffer, not usable space for anything delicate.
- Center the primary logo or text in the flattest part of the panel, where curvature is minimal.
- Keep fine type and thin outlines at or above roughly 12 points, and avoid hairline strokes anywhere near the edges.
- Leave a small margin between your design’s outer edge and the panel’s stitched border, usually a quarter inch or more.
- Preview the design at actual size before sending it to print. What looks readable at 200% zoom often isn’t at true scale on a 3-inch panel.
Design placement on curved surfaces really is a center-out problem: put your most important elements where the surface behaves most like a flat panel, and treat anything near the curve as unsafe for fine detail.
If you’re producing more than a handful of caps, laying out each design individually wastes film and time. A gang-sheet approach, where you arrange multiple hat-front transfers on a single sheet, cuts per-piece cost and trims waste. HandmadeOhio’s Gang Sheet Builder lets you batch several cap designs onto one layout and print them together instead of running one small transfer at a time.
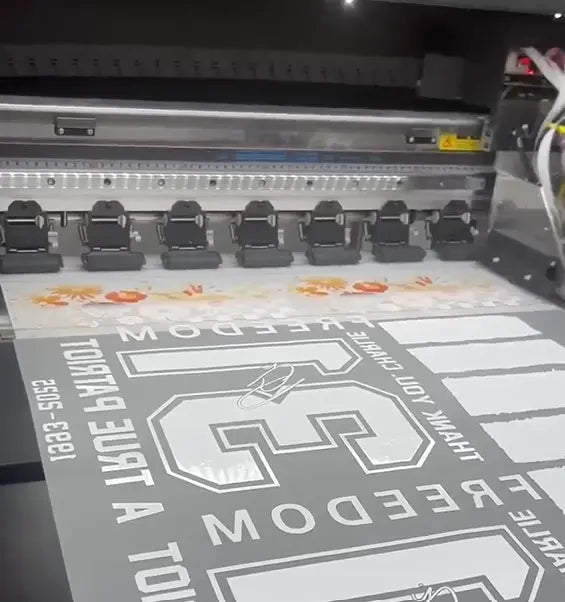
Pro Tip: Duplicate your cap design at two sizes on the same gang sheet, a slightly smaller version for youth or fitted caps and the standard size for adult snapbacks. You’ll rarely need to reorder for a size mismatch.
Equipment and Setup for Pressing DTF on Caps
The gear question comes down to volume and how often you’ll be doing this. A dedicated cap press, built specifically to hold a curved platen at a fixed radius, gives you the most consistent results if you’re printing hats regularly. If caps are an occasional job alongside garment printing, a flat heat press with a curved platen attachment does the job, though you’ll spend more time on setup for each piece.
Either way, the platen has to make even contact with the entire transfer area, and that only happens with the right support underneath the crown.
- A heat-resistant pillow or firm foam insert goes inside the cap before pressing, filling the crown so it doesn’t collapse under pressure.
- Size the insert to match the cap’s interior depth. Too small and the front panel stays loose; too large and you’ll distort the shape.
- Position the insert so it pushes the front panel gently against the platen, not just filling empty space.
- Use heat-resistant tape to hold the transfer in place during positioning. It should release cleanly without leaving residue.
- Lint-roll the panel before placement. Loose fibers and dust create tiny air pockets that show up as bubbles later.
- Skip textured or low-quality blanks with inconsistent weave. They won’t hold a transfer evenly even with perfect technique.
Pro Tip: Keep a dedicated set of cap inserts in two or three sizes near your press. Digging through a bin mid-job while a transfer sits half-aligned on a hot platen is how registration mistakes happen.
How to Press a DTF Transfer on a Hat Step by Step
Once you’ve confirmed the blank is compatible and the artwork is sized correctly, the actual press sequence is short. Rushing any one step is what causes most first-attempt failures.
- Confirm compatibility. Check the inside-front panel one more time for seams, and size your transfer to fit within the confirmed printable area.
- Mount and stuff the cap. Slide the heat-resistant insert into the crown so the front panel sits flat and firm against where the platen will land.
- Align the transfer. Center it visually, then secure the edges with heat-resistant tape so it can’t shift when the platen closes.
- Set your starting temperature and time. A common starting range for many DTF films is 300 to 325 degrees Fahrenheit for 10 to 15 seconds, but always defer to your specific film manufacturer’s recommended settings, since formulations vary.
- Add a few extra seconds for cap fronts when needed. Cap fronts retain heat differently than flat garment areas because of the interior padding, so some shops add a couple extra seconds before peeling, depending on the insert and film.
- Peel according to film type. Cold-peel films need to cool fully before you lift the carrier. Warm-peel films come off shortly after the press opens. Peeling at the wrong stage is one of the most common causes of a failed transfer.
- Inspect the edges immediately. Run a finger lightly around the perimeter. Any lifting or looseness needs attention now, not after the cap leaves your workstation.
- Apply a light second press if needed. A short second press, around 10 to 12 seconds at lower pressure, focused only on the outer edges after a warm peel often corrects minor edge lift without overcooking the center of the design.
If you want a written reference for temperature and timing across different film types, HandmadeOhio’s pressing instructions walk through the settings for garments as well as caps, and the same core logic (heat, time, pressure, peel) carries over.
Diagnosing Edge Lift, Bubbling, and Other Cap Print Failures
Most cap-printing failures trace back to one of three causes: the wrong blank, insufficient support, or a peel timing mismatch. Isolating which one you’re dealing with saves you from guessing your way through a whole batch.
Edge lift is the most common complaint. If it shows up specifically at the center front, suspect a seam under the transfer, no amount of pressure adjustment fixes a ridge problem. If lift happens evenly around the whole perimeter, check your insert size first; a loose or undersized pillow means the platen isn’t reaching the full transfer area with equal force.
- Switch to a confirmed flat-front blank if the seam is the culprit.
- Increase insert firmness or size if support is inconsistent.
- Adjust peel timing (cooler for cold-peel films, faster for warm-peel films) if lift appears right after peeling rather than after wear.
Bubbling or cracking usually points to incorrect temperature or pressure, or a blank that simply isn’t rated for the heat DTF film requires. If you’re seeing this on a blank that otherwise passed your seam check, drop your temperature by 10 to 15 degrees and add a couple seconds, then test again on a scrap piece before running the full order.
Sometimes the honest answer is that the blank isn’t going to work no matter what you adjust. At that point, recommend a patch or embroidered alternative rather than burning through more inventory. A short, direct message works fine here: “This particular hat style has a seam that won’t hold a smooth transfer well. We’d recommend an embroidered patch instead for a cleaner, longer-lasting result.” Customers generally appreciate the honesty more than a print that fails in two washes.
When DTF Isn’t the Right Call for a Hat
Structured six-panel caps with a visible center seam, unstructured dad hats, and heavily textured or ripstop-style blanks are poor DTF candidates. Pushing a transfer onto any of these usually means edge lift within a few wears, no matter how carefully you press it.
For those constructions, patches and embroidery hold up better. Embroidery handles seams and texture without issue since the thread follows the fabric’s contour rather than needing flat contact. Patches, whether embroidered or woven, can be applied over a seam because they’re often heat-pressed or sewn with enough structure of their own to bridge the ridge.
The trade-offs run roughly like this:
- DTF: best color detail and gradient work, the fastest turnaround for small runs, but requires a compatible flat-front blank.
- Embroidery: more durable long-term, works on almost any cap construction, but limited on fine detail and gradients, and typically costs more per unit at low volume.
- Patches: good middle ground for logos with moderate detail, works on seamed caps, but adds a visible border and slightly higher unit cost.
If a customer brings in a seamed six-panel cap wanting a photorealistic design, steer them toward a patch or a different blank rather than promising a result the construction won’t support.
HandmadeOhio’s Resources for Custom Hat DTF Work
In-house DTF and UV DTF production with no minimum order requirements matter if you’re testing a single cap design before committing to a bigger run. Everything from film selection to pressing happens under one roof, which is part of why the technical guidance below reflects what actually works on the equipment, not generic manufacturer defaults.
A few resources map directly to what’s covered here:
- DTF transfer pressing instructions for temperature, time, and peel guidance across film types.
- The right heat press temperature guide for matching settings to specific fabrics and substrates.
- A small business primer on DTF printing if you’re deciding whether to build this in-house or outsource it.
If you’d rather skip the trial-and-error on a tricky cap style, HandmadeOhio can produce sample transfers or finished hats directly, using the full DTF transfer service built around exactly this kind of curved-surface work.
Aligning Multi-Color Designs on a Curved Cap Front
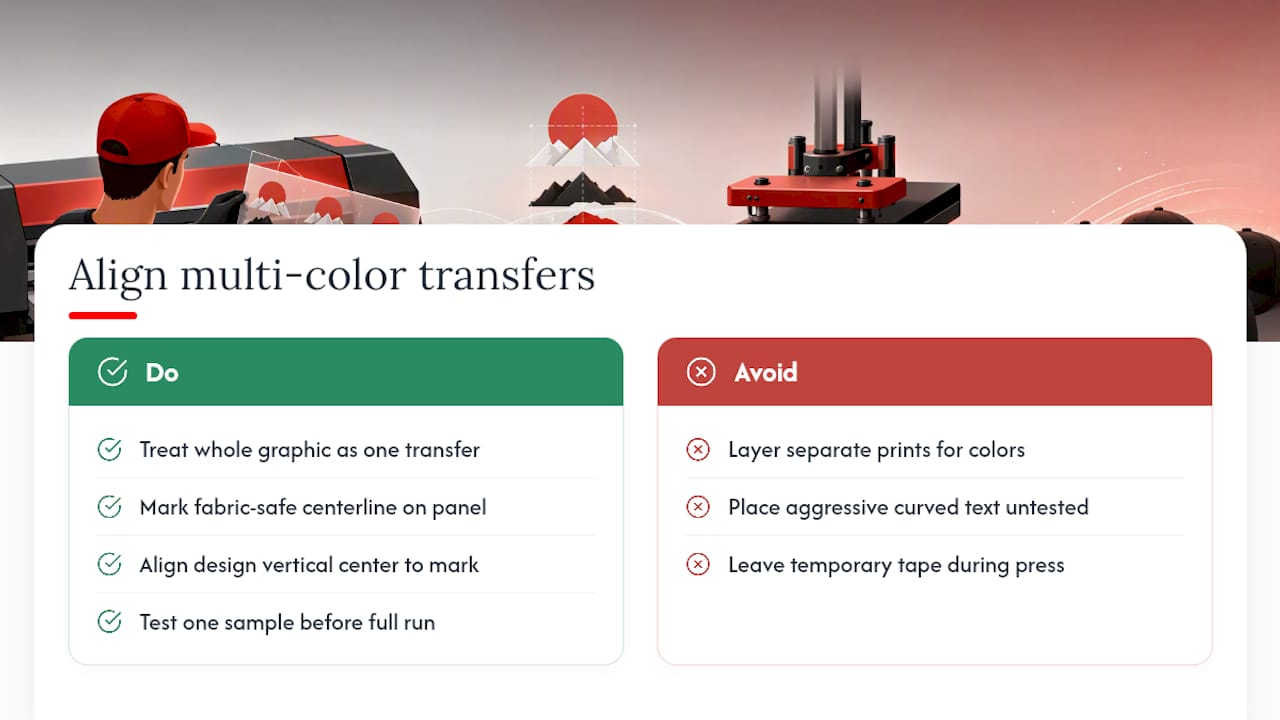
Multi-color and layered designs raise the stakes on alignment because any misregistration is far more visible on a curved surface than a flat shirt front. The safest approach is to treat the entire multi-color graphic as a single transfer rather than layering separate prints, since DTF film already prints all colors in one pass and eliminates the registration problem that plagues multi-step methods like screen printing.
Where alignment still matters is in positioning that single transfer accurately before the press closes. Mark a light centerline on the cap’s front panel with a fabric-safe pencil or chalk before placing the transfer, then align the design’s own vertical center to that mark. For designs with a clear horizontal element, like a straight underline or a banner shape, use a piece of low-tack tape as a temporary horizontal guide across the panel, remove it once the transfer is taped down.
Complex designs with text wrapping around a curve need extra attention to how the artwork was created in the first place. If the text was already warped to follow a curve during design, keep the flattest part of that curve centered on the panel’s flattest zone; if the curve is too aggressive, the outer letters will distort further once pressed onto the cap’s real curvature, compounding the effect. Test one sample before running a full batch anytime a design includes wraparound text or fine multi-color gradients.
Keeping DTF-Decorated Hats Looking Good Over Time
DTF transfers on caps hold up well with reasonable care, but caps get treated rougher than T-shirts. They get tossed on dashboards, crushed into bags, and worn through sweat and sun far more than a folded shirt in a drawer.
Hand washing is the safer option for anything with a printed front panel. Use cool water, a mild detergent, and avoid scrubbing directly across the design. If a cap has to go through a washing machine, turn it inside out where possible, use a gentle cycle, and skip the dryer entirely. Air drying prevents the repeated heat cycling that gradually breaks down the transfer’s bond over time.
Direct sun exposure over long periods fades printed colors faster than indoor storage, so hats that see daily outdoor wear will show more fading over a season than ones worn occasionally. That’s a normal trade-off of any printed decoration, not unique to DTF.
Avoid ironing directly over a printed panel. If a cap gets crushed or needs reshaping, use steam and shape by hand rather than pressing an iron flat against the front. A quick durability check worth running on any new blank is a two-round test: wash and wear the sample cap through two standard laundry cycles and check the edges of the design afterward. It’s a fast way to catch a construction or bonding problem before it shows up across an entire order.
When to DIY and When to Order From a Pro
Learning to press DTF on hats yourself makes sense if you’re producing a steady volume, want full control over turnaround, and can justify the cost of a cap press, platen adapter, and inserts. It’s a real investment, not just in equipment but in the testing time it takes to get consistent results on curved surfaces.
Outsourcing makes more sense below a certain volume, or when a design has fine detail that punishes a shaky first attempt. Screen printing’s cost curve shows why: per-unit cost drops sharply with volume once setup fees are spread across more pieces, and the same math applies to any decoration method, including DTF. If you’re only printing a dozen caps, a shop with no minimum order requirement often beats buying equipment you’ll use twice a year.
If you’re testing the water, order one sample cap first. If you’re ready to scale, run a few practice pieces on scrap blanks before touching your good inventory. If neither path appeals, hiring a local shop that already owns the equipment and has worked through these failure modes is usually the faster route to a clean result.
Get Reliable Hat Transfers Without Buying a Cap Press
If reading through platen adapters, inserts, and peel timing made you want to skip straight to a finished product, that’s exactly the gap HandmadeOhio fills. You get shop-tested DTF work without the upfront cost of a dedicated cap press or the trial-and-error of dialing in your own settings on curved surfaces.
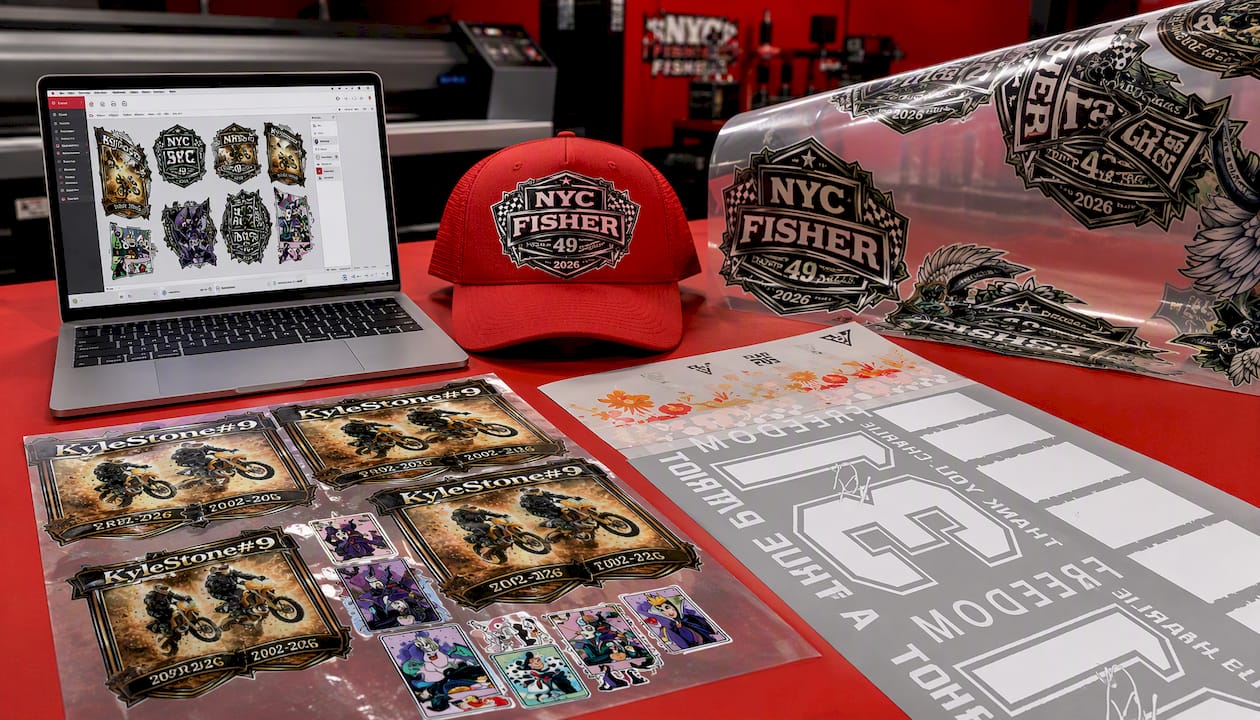
The Gang Sheet Builder lets you lay out multiple hat-front designs on a single sheet, upload your own artwork, and get transfers cut and ready to press, no minimum order required. If your project calls for UV-capable transfers or sticker-style decals for hard surfaces alongside your apparel work, the UVDTF Gang Sheet Builder covers that separately.
Start with a single sample cap or a small gang sheet before committing to a full production run. It’s the fastest way to confirm your artwork looks right on a real curved surface before you print forty of them.
Sources
For film-specific settings and curved-surface technique, Joto Imaging Supplies’ application guide covers seam-related failure modes in detail. For cost comparisons across decoration methods, Dirt Cheap Headwear’s screen printing cost breakdown shows how setup fees shift the math at different volumes. For a broader look at method trade-offs, this screen printing versus DTG comparison is a useful third-party reference.
- DTF Printing on Hats: Curved Surface Application Guide - Joto Imaging Supplies
- A Guide to Screen Printing Cost for Custom Hats in 2026 | Dirt Cheap Headwear
- Custom hats - Printful
FAQ
How long do you heat press DTF on a hat?
Most DTF film calls for roughly 10 to 15 seconds at a starting temperature around 300 to 325°F, with a couple extra seconds sometimes needed for cap fronts due to interior padding retaining heat longer. Always confirm the exact range with your specific film manufacturer.
What size DTF design fits on a hat?
Most flat-front cap panels have a printable area around 3.5 to 4 inches wide and 2 to 2.5 inches tall, though the exact printable area varies by blank and should be confirmed before finalizing artwork.
Can you heat press a transfer onto any hat?
No. DTF works reliably only on flat, seamless front panels like foam trucker caps; seamed six-panel caps and unstructured dad hats tend to cause edge lift because the platen can’t apply even pressure across the design.