

The Right DTF Heat Press Temperature for Every Fabric
Start at 310 to 325°F for cotton and 270 to 300°F for polyester, both for 12 to 15 seconds under medium pressure. Cold peel poly, warm or hot peel cotton depending on your film. Press a scrap piece first and confirm your platen actually hits that number with an infrared thermometer or temperature strip, since displayed and real heat often diverge. Pre-press every garment 3 to 5 seconds to drive out moisture before you ever lay down the transfer.
TL;DR:
- Different film types require specific peel methods and temperature settings, with cold peel films needing cooling before removal.
- Polyester and moisture-wicking fabrics demand lower temperatures around 270 to 300°F to prevent dye migration and design distortion.
- Regularly verify actual platen temperature with an infrared thermometer due to calibration drift, especially when switching film brands or fabrics.
- Adjust pressure first to prevent transfer lifting or uneven adhesion, then fine-tune temperature and time based on material responses.
- Consistent logging of tested settings improves production reliability and minimizes reprints, especially when handling high volumes or new materials.
Table of Contents
- Why Film Type Changes Your DTF Temperature and Time
- What Temperature Should You Use for Each Fabric?
- How to Press a DTF Transfer Step by Step
- How Long Should You Press and When Should You Peel?
- Why Do DTF Transfers Peel, Crack, or Discolor?
- The Shop Habits That Actually Prevent Failed Transfers
- When Speed Isn’t Worth the Risk
- Let HandmadeOhio Press It Right the First Time
- Sources
Why Film Type Changes Your DTF Temperature and Time
Not all DTF film behaves the same way at the same heat, and the film sitting in front of you matters as much as the fabric underneath it. Hot-peel film wants to come off the garment immediately, while it’s still hot, or the adhesive can re-tack and drag ink with it. Cold-peel film needs the opposite: let the garment cool to room temperature before you touch the corner, or you risk lifting edges and cracking the design. Warm-peel (sometimes called medium-peel) sits in between, tolerant of a short cooldown window of 10 to 20 seconds.
Here’s the part a lot of people skip: the film manufacturer’s spec sheet always overrides any generic baseline, including the one at the top of this article. Two rolls of cold-peel film from different suppliers can call for a 10°F swing in temperature because the adhesive formulations aren’t identical.
A few patterns show up often enough to plan around:
- Instant-peel films typically run 5 to 10°F cooler than standard hot-peel film and use lighter pressure to avoid over-melting the adhesive.
- Cold-peel film generally needs slightly longer dwell time to fully cure the adhesive before it cools.
- If you switch film brands mid-project, treat it as a new material and re-test rather than assuming your old numbers still apply.
What Temperature Should You Use for Each Fabric?
Fabric content drives more variation in press settings than anything else, and treating every garment like cotton is the fastest way to waste a transfer. Most DTF suppliers and shop guides use a cotton baseline near 310 to 325°F for 12 to 15 seconds at medium to medium-firm pressure, and that range is forgiving enough for beginners to lean on.
Polyester is a different animal entirely. Push it too hot and the dye inside the fabric migrates into your print, leaving a pink or gray haze around the design that no amount of pressing will fix afterward. Polyester and moisture-wicking fabrics need lower heat, typically 270 to 300°F, with cold peel strongly recommended to lock the print down before the fabric’s dyes have a chance to bleed.
| Fabric | Temperature | Time | Peel |
|---|---|---|---|
| Cotton | 310 to 325°F | 12 to 15 sec | Warm or hot, per film |
| Polyester | 270 to 300°F | 10 to 15 seconds | Cold |
| blends | 285 to 305°F | 10 to 15 sec | Warm |
| Nylon and delicates | Lower end of range, test first | Shorter, test first | Cold |
Blends split the difference, generally settling around 285 to 305°F for 10 to 15 seconds. Nylon, silk, and other heat-sensitive fabrics deserve real caution. Start low, run a scrap test, and only nudge the temperature up in small steps until adhesion looks solid without any sheen or texture change on the fabric surface.
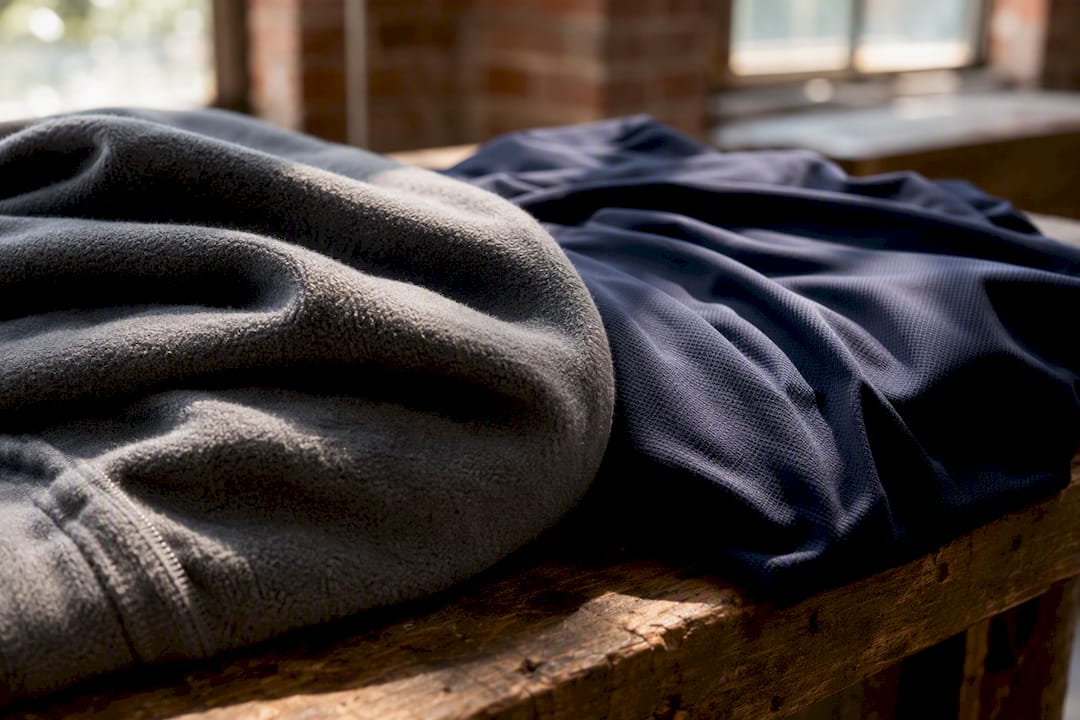
Weight matters too. A heavyweight hoodie or fleece often needs an extra 3 to 5 seconds of dwell time to push heat through the thicker material, while a lightweight tee or moisture-wicking athletic shirt usually needs 2 to 3 seconds less to avoid scorching. Before you press anything real, confirm the fabric content on the tag, run a pre-press cycle, and burn one scrap transfer to check for lifting or discoloration.
Pro Tip: Keep a small binder or spreadsheet of every fabric and film combination you’ve tested, along with the exact settings that worked. It saves you from re-discovering the same numbers every few months.
How to Press a DTF Transfer Step by Step
Getting the workflow right matters as much as picking the correct number on the dial. Follow this sequence every time and most adhesion failures disappear before they start.
- Pre-press the garment for 3 to 5 seconds with no transfer in place. This drives out moisture and wrinkles that would otherwise trap air under the design.
- Position the transfer where you want it and cover it with parchment paper or a Teflon sheet if your film calls for one.
- Let the press reach steady-state heat before you start the clock. Presses take time to recover after the platen opens, and pressing too soon means pressing cold.
- Verify the actual temperature with an IR thermometer or a temperature strip rather than trusting the digital display. Many heat presses run ±5 to 10°C off what they show, which is enough to ruin a batch of transfers without anyone noticing why.
- Start the timer only once full contact is achieved, then hold for the time your film and fabric call for.
- Peel according to the film’s instructions, hot, warm, or cold as appropriate.
- Post-press for 5 to 10 seconds under parchment or Teflon to fully bond the adhesive and improve wash durability.
Pressure has three practical levels worth naming: light for delicate or heat-sensitive fabrics, medium for most cotton and blend tees, and firm for thick hoodies or multiple fabric layers where the platen needs extra force to make full contact.
Pro Tip: If your press has a pressure knob, mark the exact position that works for your most common garment. Guessing at pressure by feel introduces more inconsistency than temperature ever will.
How Long Should You Press and When Should You Peel?
Dwell time and temperature work as a pair, not independently, and understanding that tradeoff gives you more control than chasing a single magic number. When a fabric can’t tolerate high heat, whether that’s a delicate blend or a garment prone to scorching, extending the dwell time slightly at a lower temperature often finishes the adhesive bond just as effectively.
Peel timing carries its own tradeoffs:
- Hot and warm peel are faster for production, letting you move to the next garment sooner, but they demand precise timing or the transfer can lift at the edges.
- Cold peel takes longer because the garment has to cool, but it gives polyester and blend fabrics a more reliable bond and lower dye migration risk.
- A conservative starting point many shops use is 300 to 315°F for 10 to 15 seconds at medium pressure as a general “won’t ruin it” baseline before dialing in for a specific fabric.
Test peel quality with three simple checks: pull gently at an edge to feel for resistance, run the garment through a wash cycle to see how the print holds, and bend the fabric to check for cracking along the design lines.
Why Do DTF Transfers Peel, Crack, or Discolor?
Most failures trace back to one of three causes, and the fix almost always follows the same order: adjust pressure first, then time, then temperature, testing on scrap fabric after each change.
- Transfer lifting or peeling: Increase pressure in small increments before touching the temperature dial. Weak pressure is the most common overlooked cause.
- Dye migration on polyester: Lower the temperature immediately and switch to cold peel. For stubborn cases, a dye-blocking spray helps, or send tricky jobs to a professional shop with tighter environmental control.
- Scorching or shiny marks: Reduce both temperature and time, and always use a protective sheet between the platen and the garment.
- Uneven heat across the design: Run a short second press, just a few seconds, focused on the edges that didn’t get full contact the first time.
One detail worth remembering: many heat presses read several degrees off their actual platen temperature, which means a transfer that keeps failing at settings that “should” work is often a calibration problem, not a technique problem. If a fabric keeps failing after two or three adjustment rounds, stop and run a proper sample press rather than burning through more blanks.
The Shop Habits That Actually Prevent Failed Transfers
Consistency in a DTF shop comes down to a few unglamorous habits, not a secret setting. Verify platen temperature daily with an infrared thermometer or a temperature strip. Displayed temperature and real surface temperature can drift over weeks of use, and catching that drift early saves an entire order rather than one shirt.
Pre-press every single garment, no exceptions, and follow with a post-press step under parchment or Teflon whenever the film allows it. That combination locks adhesion and noticeably improves wash durability over time.
- Log every successful temperature, time, and pressure combination by fabric and film brand.
- Re-verify calibration weekly, or daily in high-volume production.
- Treat a new film roll or fabric supplier as an unknown until you’ve run a fresh scrap test.
Our step-by-step pressing instructions walk through this exact routine in more depth if you want a reference to keep near the press.
When Speed Isn’t Worth the Risk
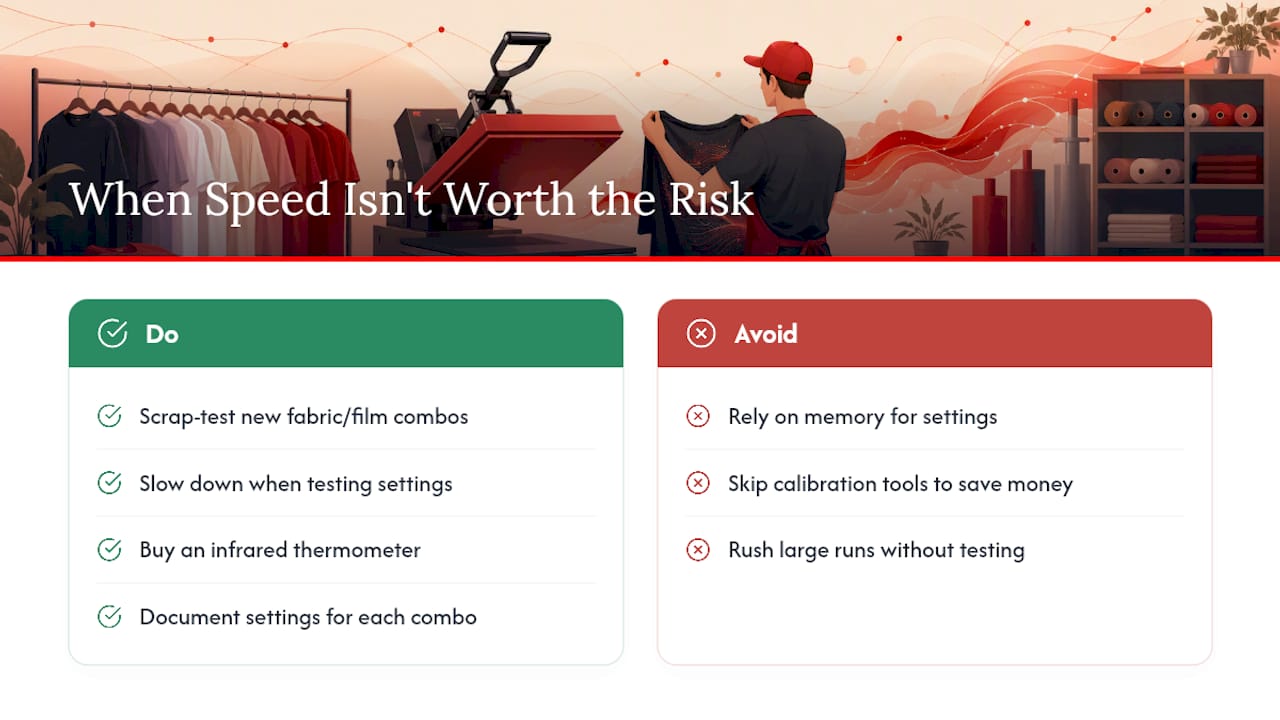
Hobbyists pressing one shirt at a time can afford to experiment. Small shops running fifty garments a day cannot, and that difference should shape how conservative your settings are. If you’re testing a new fabric or film combination, slow down and scrap-test even when you’re confident, because a five-minute test beats reprinting an entire order.
Calibration tools cost money upfront, and plenty of small operations skip them until a bad batch forces the issue. It’s cheaper to buy an infrared thermometer now than to explain a ruined run of team hoodies later. Whatever settings work, write them down. A shop that documents its fabric and film combinations scales faster than one relying on memory, and it trains new staff in a fraction of the time.
— Aaron
Let HandmadeOhio Press It Right the First Time
If you’d rather skip the scrap-testing and calibration checks altogether, HandmadeOhio produces DTF transfers in-house with settings already dialed in for cotton, polyester, blends, and trickier substrates.
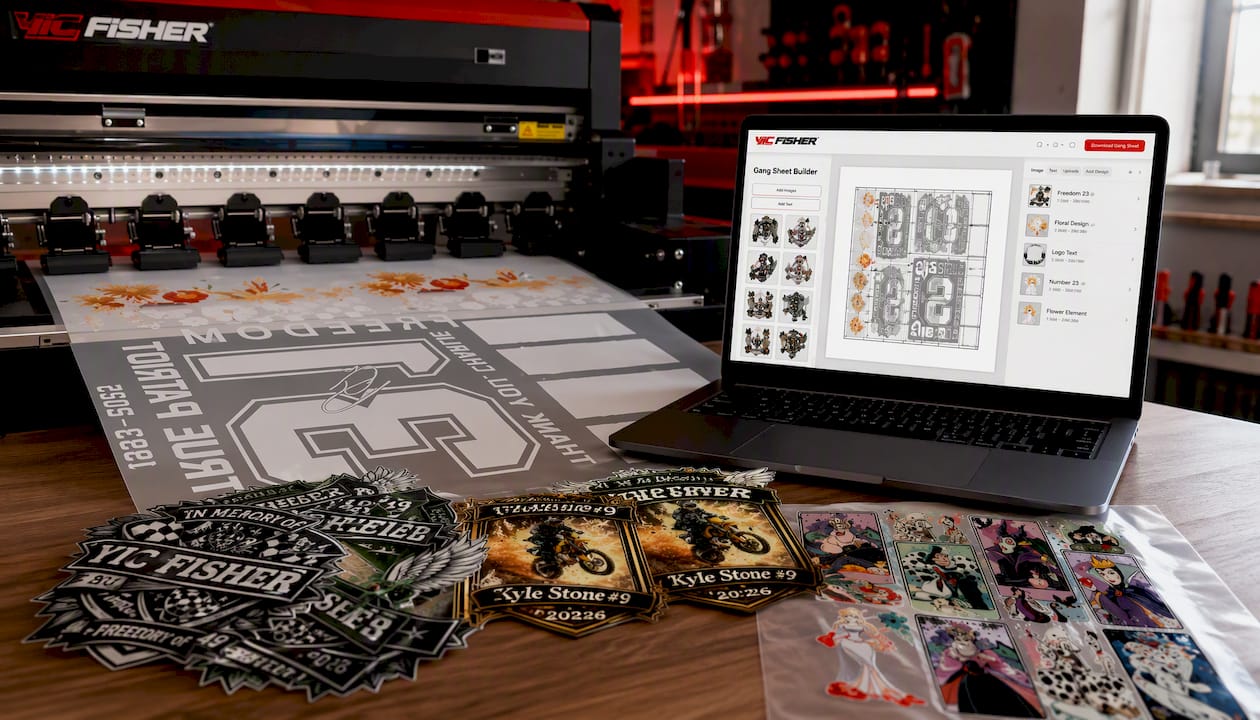
That means no guessing on temperature curves, no burned garments while you figure out a new fabric, and a team that presses at production volume every day rather than occasionally. It’s worth ordering pro-pressed transfers when you’re running high volume, working with a tricky substrate like nylon or performance wear, or simply don’t have a press calibrated well enough to trust yet. Browse our custom DTF transfer options, check our file requirements guide before uploading artwork, and if you’re outfitting a team, our custom team sweatshirts are a good example of what a properly pressed transfer looks like on finished apparel. Order a sample transfer first if you want to see the quality before committing to a full run.
Sources
- Turnkey Transfers — Heat press settings
- ROQ — The complete DTF temperature chart for every fabric type