

3 Small Shop Methods to Make UV DTF on Glass Stick
Yes, UV DTF transfers work on glass, but only when three things happen in order: the surface gets properly cleaned and primed, a white underbase carries the color where the glass is clear or dark, and the cure hits full depth before you touch it. Most failures trace back to skipped prep, no primer, undercured ink, or ink laid on too thick. Run a small test batch and write down your settings before committing to a full production run.
TL;DR:
- Proper surface cleaning, priming, and full curing are essential for successful UV DTF transfers on glass, especially to prevent adhesion failures caused by residual oils or contaminants.
- Film-based UV DTF transfers are more forgiving on curved surfaces like tumblers, while direct UV printing delivers sharper details on flat panels but demands precise calibration.
- Consistent fixturing and tension during application significantly reduce edge lift and bubble formation, especially when working with curved or tapered glass items.
- Testing adhesion with tape, scratch, and dishwashing simulations before full production helps identify curing issues or contamination problems early.
- Durability of UV DTF on glass varies; adding a clear varnish, second-surface printing, or encapsulation extends lifespan, but hand washing is recommended over dishwashing for longevity.
Table of Contents
- What Makes UV DTF on Glass Different From Fabric DTF?
- How Do You Apply UV DTF Transfers to Glass Step by Step?
- How Do You Test Whether UV DTF Adhesion Actually Held?
- How Long Do UV DTF Transfers Last on Glass?
- What Production Methods Does HandmadeOhio Use for Curved Glass?
- When Should You DIY Versus Order From a Production Partner?
- Order Custom UV DTF Sheets Instead of Fighting Setup Time
- Selected Technical and Manufacturer Resources
- Sources
- FAQ
What Makes UV DTF on Glass Different From Fabric DTF?
Glass doesn’t grab ink the way cotton does. It’s nonporous, and it usually carries invisible oils, mold-release residue, or silicone coatings from manufacturing that block adhesion before you even start printing. That’s the whole reason UV printing on glass treats adhesion and the white underbase as the two variables that actually decide print quality, not just ink color or resolution.
There are two distinct workflows people lump together under “UV DTF,” and they behave differently:
- Film-based UV DTF transfer: you print onto a specialty film, apply a UV-cured adhesive layer, then transfer it onto the glass like a sticker or decal.
- Direct UV printing: a UV printer jets ink straight onto the glass surface and cures it instantly with an LED lamp, skipping the film step entirely.
Film transfers are more forgiving for small shops without a flatbed UV printer. Direct UV gives you sharper detail and better durability on flat panels, but it demands more calibration. Either way, white ink laid down first is what makes colors pop on clear tumblers or dark glass instead of looking washed out. Adhesion promoters, PET films, and silane-based primers round out the materials list you’ll actually touch on a regular basis.
How Do You Apply UV DTF Transfers to Glass Step by Step?
Here’s the workflow HandmadeOhio and most small shops follow once they’ve settled on film-based UV DTF transfers for tumblers, cups, or curved panels.
Supplies checklist:
- Isopropyl alcohol (90%+) and lint-free cloths for cleaning
- Adhesion primer or promoter rated for glass
- UV DTF film with white underbase and CMYK layers printed
- UV curing lamp or dedicated curing station
- Silicone or felt scraper for bubble removal
- Fixture or jig sized to your glass shape (tumbler wrap, flat clamp, etc.)
The process:
- Clean the glass twice. Wipe with isopropyl alcohol, let it flash dry, then wipe again. Skip this and no primer will save you.
- Apply adhesion primer in a thin, even coat and let it sit for the manufacturer’s stated flash time, usually a few minutes.
- Design with a mirrored white layer underneath your color art if your software requires it. Keep ink density moderate. Heavy ink builds crack under stress.
- Print and cure the film in thin passes rather than one heavy pass. Multiple light cures reduce the risk of surface tackiness or under-cured spots that peel later.
- Fixture the piece. For tumblers, wrap the film around the taper with even tension and use a soft felt scraper to push out air bubbles from center to edge.
- Press and hold using the pressure and dwell time your film manufacturer specifies. Curved glass often needs a slower, rolling press rather than a flat clamp.
- Peel slowly, following the direction the transfer was designed for. If any corner resists, stop and reheat briefly rather than forcing it.
Pro Tip: Keep a peel test scrap from every batch. If it lifts clean at the edges but holds in the center, that’s a cure problem, not an adhesion problem. Fix your lamp exposure before you touch the primer.
Consistent fixturing and wrap tension are what separate shops with low rework from shops fighting the same curved-surface problems on every batch.
How Do You Test Whether UV DTF Adhesion Actually Held?
Don’t guess. Run these tests on a sample before you commit to a full order.
- Cross-hatch/tape test: score a small grid into the print, press adhesive tape over it, and pull sharply. Clean release with no color loss means good adhesion.
- Scratch test: drag a fingernail or plastic scraper across the surface at moderate pressure. Ink shouldn’t lift or scuff.
- Wet rub test: rub a damp cloth over the design for 10 to 15 seconds and check for color transfer.
- Basic dishwasher check: run one cycle at a normal setting and inspect edges and high-wear points afterward.
Inkcups’ guide to UV printing on glass recommends exactly this kind of scratch, tape, and dishwasher testing to validate durability before scaling a process, and DACEN’s adhesion guide echoes the same small-sample-first approach.
When something fails, match the symptom to the cause. Edge lift almost always points back to incomplete cleaning or a skipped primer step. Flaking after a wash cycle usually means undercuring, not a bad transfer. Ghosting or blurred edges often trace to print height being off or the film sitting too far from the print head during the pass.
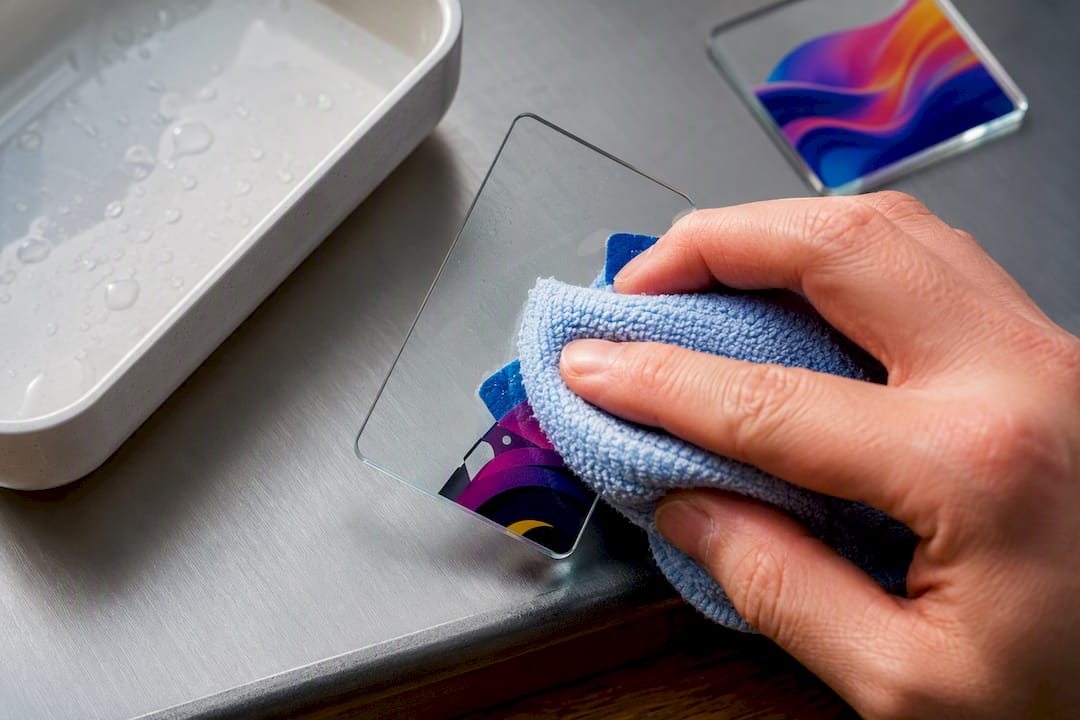
Accept the batch if it passes all three tests clean. Reprint if only the tape test fails. Reject the glass substrate entirely if scratch and wet rub both fail after a second attempt. That’s usually a coating or contamination issue baked into the glass itself, not something your process can fix.
How Long Do UV DTF Transfers Last on Glass?
Set realistic expectations before you sell anything. Indoor decorative pieces that stay on a shelf can last for years with minimal handling, as explained in the luxury of glass interior doors, where decorative glass durability and finishing choices are discussed. Drinkware that gets washed daily, handled with wet hands, or tossed in a dishwasher wears faster, and UV-cured ink forms a solid film whose outdoor and long-term durability depends heavily on the coating and primer used underneath it.
A few finishing choices extend life meaningfully:
- Clear varnish overcoat adds scratch resistance for handled items like tumblers.
- Second-surface printing (printing in reverse and viewing through the glass) protects the ink layer entirely from contact.
- Encapsulation with a laminate film works well for high-wear promotional items.
Tell customers to hand wash, skip the dishwasher unless you’ve tested and confirmed dishwasher survival, and avoid abrasive scrubbers. Write down your durability expectations and acceptance criteria for each product line so you’re not guessing what to promise the next buyer who asks how long it’ll hold up.
What Production Methods Does HandmadeOhio Use for Curved Glass?
Three techniques cover most of what comes through a small shop’s order queue.
- Wrap-and-press with soft fixturing for tapered tumblers: wrap the film with light, even tension around the taper, then use a felt scraper to work bubbles out before the press cycle. This handles most standard tumbler shapes without specialized equipment.
- Small-run direct UV printing with a white underbase for premium flat panels, reserving varnish overcoats for pieces that will see regular handling or outdoor display.
- Two-stage pressing and peel for curved items: an initial light press to set the transfer, followed by a second full-pressure pass, which cuts down on the edge lift that single-pass pressing tends to cause on tighter curves.
Pro Tip: If you’re getting consistent edge lift on tumblers specifically, it’s almost always tension, not temperature. Slow the wrap down before you touch the press settings.
These methods track closely with the UV DTF decal fundamentals small shops need before scaling past one-off pieces.
When Should You DIY Versus Order From a Production Partner?
DIY makes sense for prototyping, one-off gifts, or when you’re genuinely experimenting with a new design and don’t mind a failed test. Once you need guaranteed durability, consistent color across a hundred tumblers, or shipping-ready finishing, the math shifts. A production partner absorbs the equipment cost and the trial-and-error curve you’d otherwise pay for in wasted film and glass. UV DTF work at that scale is produced daily by experienced shops, and readers comparing the two paths can see what ordering actually involves through our DTF transfer services.
— Aaron
Order Custom UV DTF Sheets Instead of Fighting Setup Time
If you’ve read this far and you’re already dreading the primer testing, curing calibration, and inevitable first-batch rework, there’s a faster route. There are tools like the UVDTF Gang Sheet Builder designed so small shops can lay out multiple designs on one sheet, cut setup waste, and skip the equipment investment entirely.
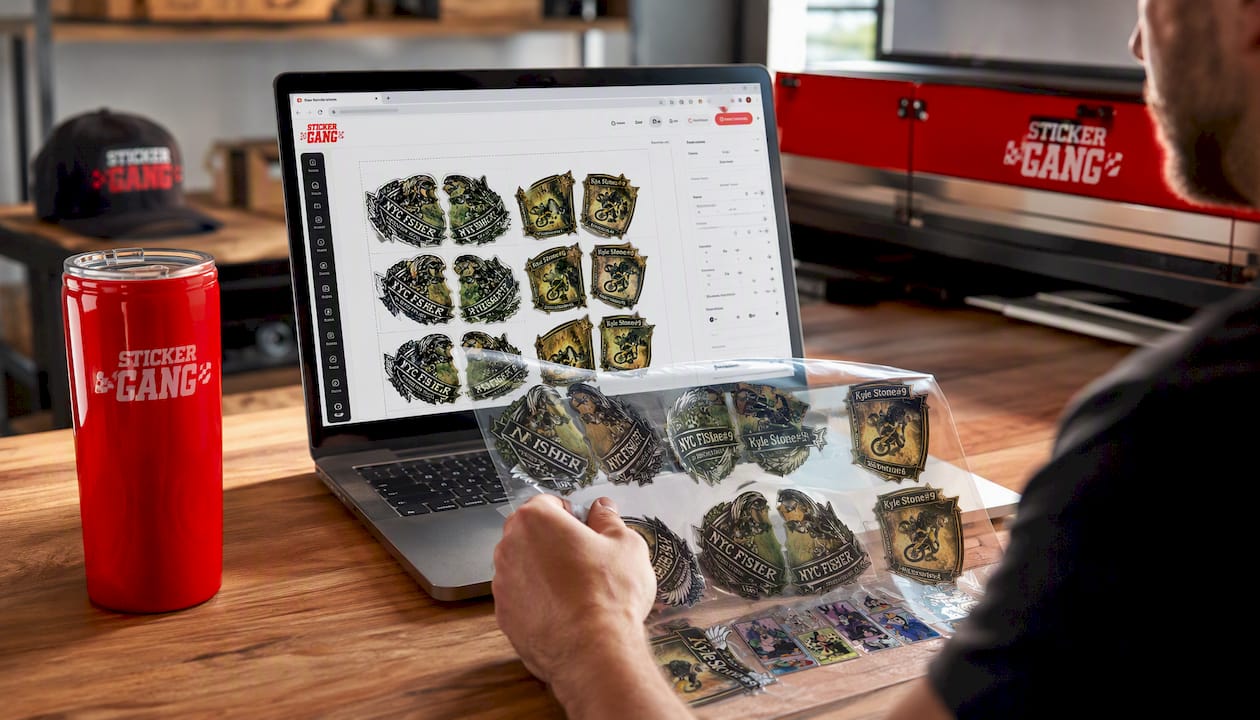
Such tools let you arrange custom UV DTF sticker sheet designs, optimize decal placement, and send orders straight to production without requiring a curing lamp onsite. Instead of burning through test glass and primer trying to nail your own settings, you upload artwork once and get transfers cut and ready to apply. They often offer no minimum order requirements, allowing runs from a single tumbler design to full batches for fundraisers or team orders. Head to the gang sheet builder to lay out your first sheet and see pricing before you commit to a quantity.
Selected Technical and Manufacturer Resources
For deeper technical detail, see Direct Color Systems’ UV-LED printing guide, OMTech’s glass printing walkthrough, and the DACEN digital printing on glass guide for recipe documentation practices.
Sources
- Printing on glass: A technical guide to UV-LED direct printing | Direct Color Systems
- How to Print on Glass With a UV Printer – OMTech
- UV Digital Printing on Glass: A Complete Guide - Inkcups
- How to Print on Glass: UV Printing & Adhesion Guide| DACEN
FAQ
How do you get UV DTF to stick to glass?
Clean the glass thoroughly with isopropyl alcohol, apply an adhesion primer, use a white underbase for color visibility, and cure fully before handling. Skipping any one of these is the most common cause of poor adhesion.
Can you use DTF prints on glass?
Yes, film-based DTF transfers can be applied to glass, but they need an adhesion promoter and careful curing since glass lacks the fiber texture that helps DTF grip fabric.
Does UV printing work on glass?
Yes, UV-curable ink forms a solid, durable film on glass and cures almost instantly under a UV-LED lamp, though long-term durability depends on the primer and coating used underneath it.
How do you get UV DTF off glass?
Soften the adhesive with gentle heat from a heat gun on a low setting, then peel slowly from one corner while the glass is still warm; any residue left behind can usually be removed with isopropyl alcohol.
Is UV DTF or direct UV printing better for glass?
Film-based UV DTF suits small shops without a flatbed UV printer and is easier to test on curved items like tumblers, while direct UV printing gives sharper detail on flat panels but requires more calibration and equipment investment.