Direct to Film Transfer Explained: What You Need to Know
Direct to film transfer, known in the industry as DTF printing, is a digital textile decoration method where a design is printed onto a special PET (polyester) film using water-based pigment inks and a white ink base layer. Once printed, the film gets coated with thermoplastic polyurethane (TPU) adhesive powder, cured with heat, and then pressed onto a garment using a heat press. The result is a vibrant, durable transfer that bonds to the fabric without any pre-treatment.
Here is what makes DTF stand out from the start:
- Prints directly onto PET film, not the garment itself
- Uses a white ink underbase to make colors pop on dark and light fabrics
- TPU adhesive powder bonds the design to fabric during heat pressing
- Heat press at 160–170°C for 10–15 seconds transfers the design
- No fabric pre-treatment required, unlike direct-to-garment (DTG) printing
- Compatible with cotton, polyester, blends, and most other common fabrics
- Full-color gradients and fine detail are possible, which screen printing and vinyl cutting struggle to match
How does the direct to film printing process work, step by step?
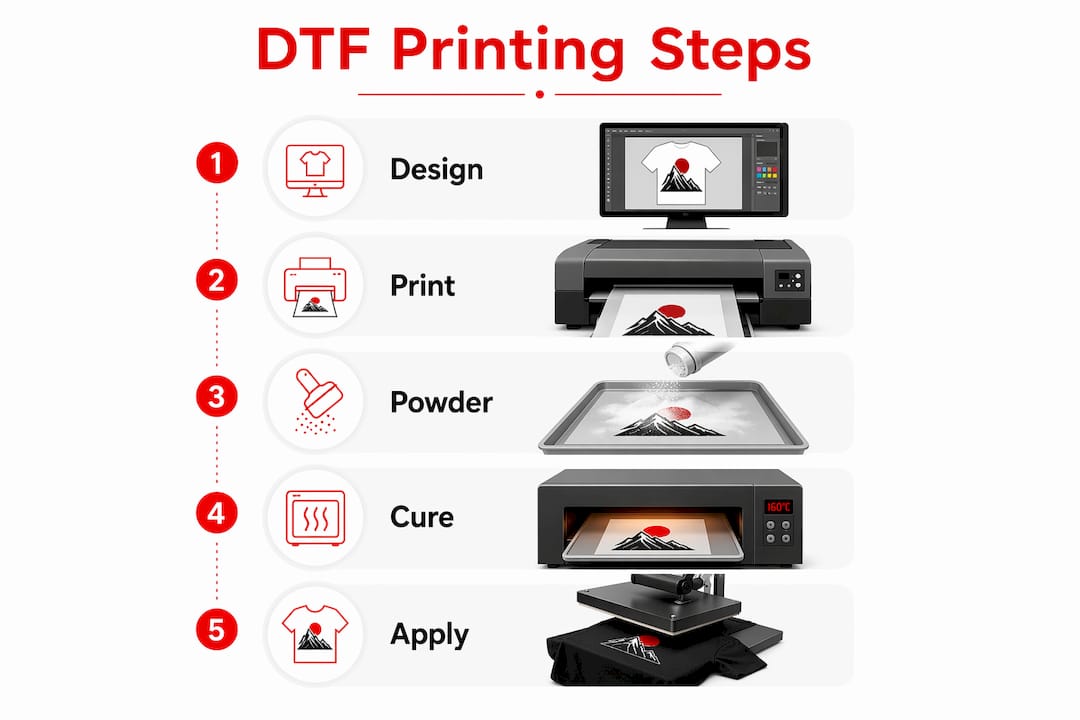
The film transfer process follows a clear sequence, and understanding each step helps you troubleshoot problems before they happen.
-
Design preparation. Your artwork gets set up in RIP (raster image processing) software, which controls how the printer lays down ink layers, especially the white ink density. File resolution, color profiles, and white ink settings all get configured here.
-
Printing on PET film. The DTF printer lays down CMYK color layers first, then prints a white ink layer on top. That white layer acts as an opaque backing so colors read correctly when the transfer flips onto the garment. The image is mirrored during this step.
-
Applying TPU adhesive powder. While the ink is still wet and tacky, TPU hot-melt powder gets applied across the printed area. The powder sticks only where ink is present, which keeps the edges clean.
-
Curing the powder. The film passes through a curing oven or sits under a heat press to melt and fuse the TPU powder into the ink. This step activates the adhesive and locks the design together. Temperature and time control here directly affect how the final transfer holds up to washing.
-
Positioning and pressing. The cured transfer film gets placed face-down on the garment. A heat press applies consistent pressure and heat, bonding the design to the fabric fibers.
-
Peeling the carrier film. After pressing, the PET film peels away, leaving the design on the garment. Whether you peel hot, warm, or cold depends entirely on the film manufacturer’s specification. Using the wrong peel method causes adhesive failures and lifted edges.
-
Post-pressing. A second quick press with a silicone sheet or parchment paper after peeling improves durability and gives the print a smoother finish. This step also helps the design stretch with the fabric rather than crack.
Pro Tip: Never guess the peel method. Hot peel and cold peel films are formulated differently, and peeling a cold-peel film while it is still hot will pull the design apart. Check the film spec sheet every time you switch film brands.
What equipment and materials do you need for DTF printing?
Getting the setup right matters more in DTF than most people expect. The wrong printer or a low-quality film will undermine even a perfect design.
- Specialized DTF printer. Standard inkjet printers cannot handle white ink or PET film. DTF printers use modified print heads and an ink circulation system to keep white ink moving constantly. White ink contains titanium dioxide pigment, which settles rapidly and clogs print heads if left stagnant.
- PET film. DTF-specific PET film has a coating that accepts both the pigment inks and the TPU powder. Film thickness and coating type affect peel behavior and final hand feel.
- Water-based pigment inks. CMYK inks plus a dedicated white ink formulated for DTF. White ink quality directly affects opacity and color vibrancy on dark fabrics.
- TPU adhesive powder. Available in fine and coarse grades. Fine powder works better for detailed designs; coarser grades suit larger, simpler graphics. Powder consistency affects how evenly the adhesive bonds.
- Heat press machine. A flat platen press with consistent, even pressure is non-negotiable. Uneven pressure creates patchy transfers. Temperature accuracy matters too, since the 160–170°C range is a narrow window.
- Curing oven or powder shaker unit. Small operations often cure with a heat press or a conveyor oven. Commercial setups use integrated powder shaker and curing units that apply and fuse the TPU in a single automated pass, which keeps output consistent at volume.
- RIP software. Programs like Wasatch, Ergosoft, or Cadlink manage white ink density, color profiles, and print layering. Without proper RIP settings, white ink coverage is either too thin (washed-out colors) or too heavy (stiff, cracking prints).
- Maintenance tools. A digital laser thermometer for verifying platen temperature, cleaning solution for print heads, and a schedule for agitating white ink tanks are all part of daily operations.
Pro Tip: If you are starting small, a manual powder application method works fine. Shake the powder over the wet print, tap off the excess, and cure with a heat press. The key is controlling moisture in your workspace, since high humidity causes powder clumping and uneven adhesion.
What are the real pros and cons of DTF transfer printing?
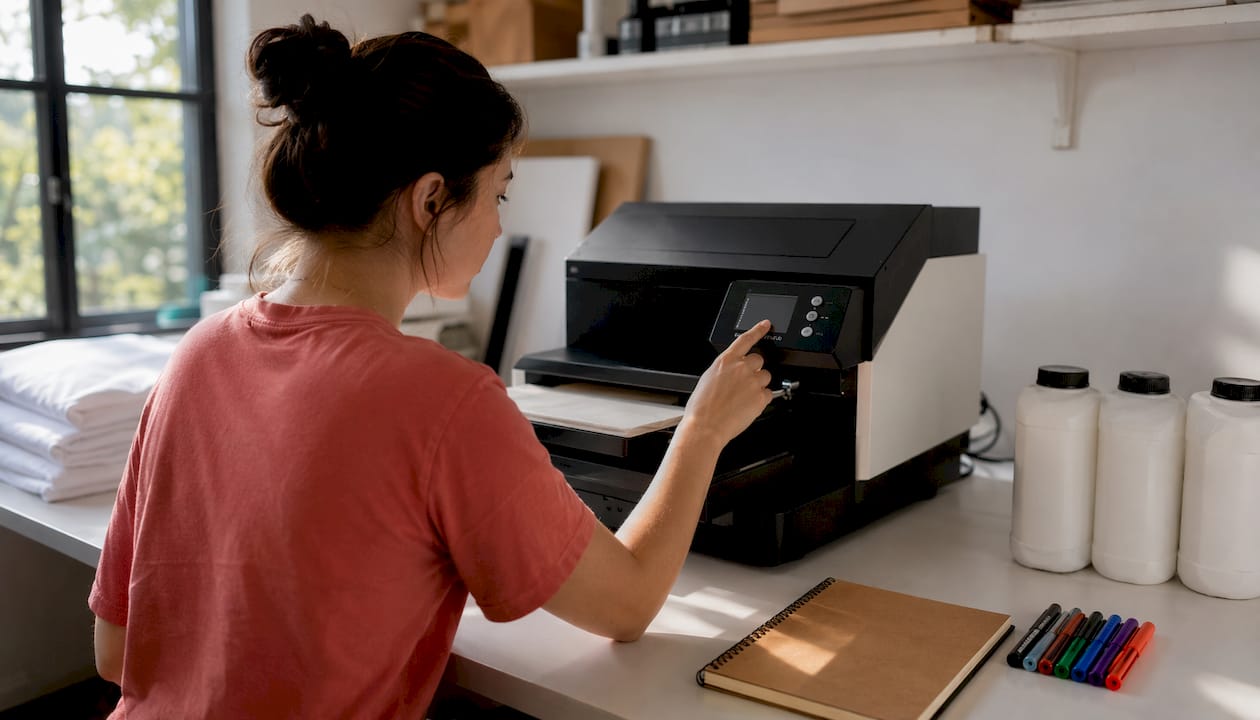
DTF has genuine strengths, but it also has real operational demands that catch new users off guard.
Advantages:
- Full-color, photographic-quality designs with gradients and fine detail, all without weeding or cutting
- No fabric pre-treatment, which saves time and eliminates a step that DTG printing requires
- Works on cotton, polyester, blends, nylon, leather, and most other common materials
- Transfers can be printed in batches and stored, then pressed on demand, which decouples production from fulfillment
- Low-volume, high-detail jobs are cost-effective because there are no screens to burn or setup fees
- DTF works well for small batch printing where screen printing setup costs would make short runs impractical
Disadvantages:
- White ink maintenance is the biggest ongoing challenge. Titanium dioxide settles fast, and neglecting the circulation system leads to clogged heads and failed prints.
- The TPU layer adds thickness to the print. On large solid-color areas, the transfer can feel noticeably heavier than a screen-printed or sublimated design.
- Specialist hardware is required. You cannot run DTF on a standard office printer or a basic heat press without accurate temperature control.
- The adhesive powder process requires humidity management. Too much moisture in the air and the powder clumps; too little and it does not adhere evenly.
- There is a learning curve around curing time and temperature. Under-cured transfers crack; over-cured ones lose flexibility.
How does DTF compare to screen printing, HTV, sublimation, and DTG?
Each printing method has a context where it wins. DTF does not replace the others, but it fills gaps that each of them leaves open.
| Criteria | DTF | Screen printing | HTV | Sublimation | DTG |
|---|---|---|---|---|---|
| Process complexity | Moderate | High (setup-heavy) | Low | Low-moderate | Moderate |
| Cost for small runs | Low | High (setup fees) | Low | Low | Moderate |
| Print quality | Full color, photo detail | Excellent for spot color | Limited, no gradients | Excellent, soft feel | Full color, photo detail |
| Fabric compatibility | Most fabrics | Most fabrics | Most fabrics | Polyester only | Cotton preferred |
| Setup time | Minimal | Long (screen prep) | Minimal | Minimal | Moderate (pre-treatment) |
| Maintenance needs | High (white ink) | Moderate | Low | Low | Moderate |
DTF vs. screen printing. Screen printing produces sharp, vibrant spot colors at high volume, but setup costs make short runs expensive. DTF handles the same multicolor complexity with no screens and no minimum order. Industry professionals generally treat DTF as complementary to screen printing, not a replacement, using each where it makes economic sense.
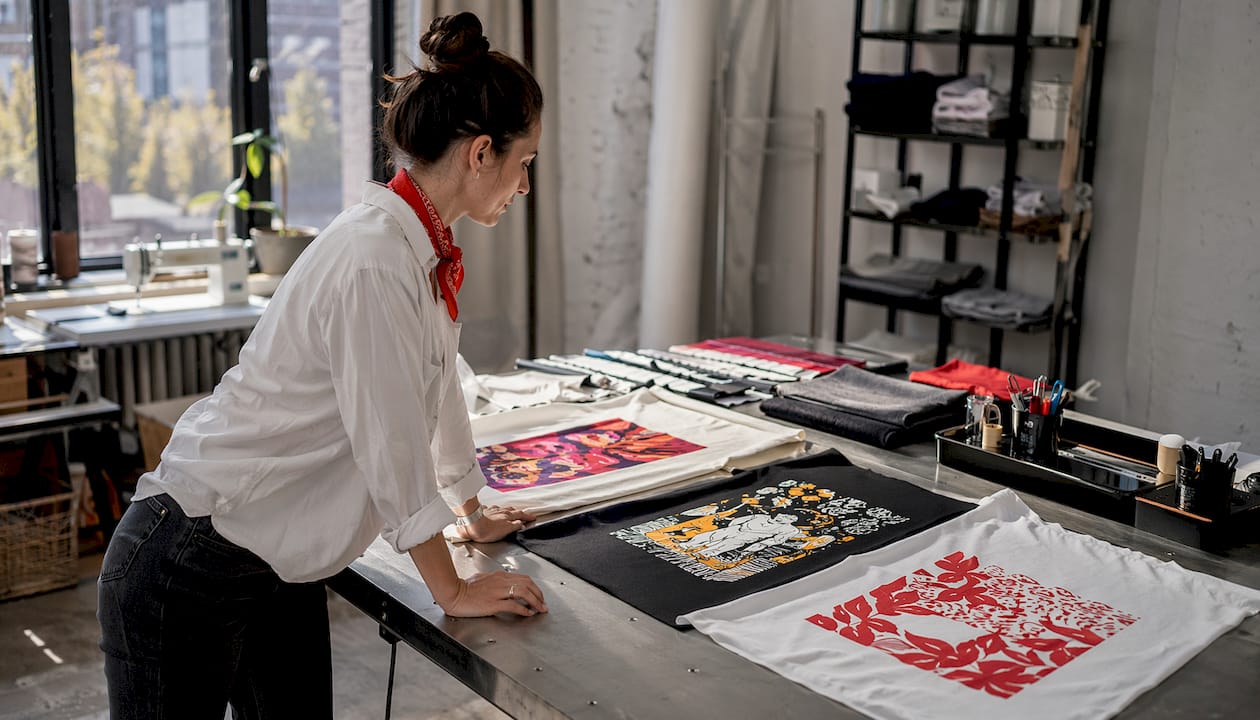
DTF vs. HTV (heat transfer vinyl). HTV requires weeding away the negative space around each design element, which limits complexity and makes gradients nearly impossible. DTF eliminates weeding entirely and handles photographic detail without layering multiple vinyl sheets. For anyone decorating apparel with logos that include fine text or color blends, DTF is the faster and more accurate choice. You can also explore how film transfers appear on clothing for a broader look at how the method translates across garment types.
DTF vs. sublimation. Sublimation produces incredibly soft, breathable prints because the dye bonds directly into the fabric. The catch is that it only works on polyester or polyester-coated substrates. DTF works on virtually any fabric, including 100% cotton, which sublimation cannot touch. If your customers want dark-fabric options or natural fiber garments, DTF covers ground sublimation cannot. Fabric weight and construction also matter here, and understanding why fabric choice affects print results helps set realistic expectations for either method.
DTF vs. DTG. Both methods produce full-color, photo-quality prints, but DTG prints directly onto the garment and requires pre-treatment with a bonding solution, especially on dark fabrics. DTF skips pre-treatment entirely and produces a transfer that can be applied to any compatible fabric later. DTG tends to feel softer on light cotton, while DTF transfers have a slight texture from the TPU layer.
Expert best practices for producing quality DTF transfers
Getting consistent, washable results from DTF comes down to a handful of variables that are easy to overlook when you are focused on the design itself.
RIP software profiling. The quality of a DTF transfer depends heavily on how RIP software manages white ink density and layering. Too little white ink and colors look dull on dark fabrics. Too much and the print feels stiff and is prone to cracking after washing. Dialing in the white ink profile for your specific film and ink combination is worth the time upfront.
White ink circulation. White ink must stay in constant motion inside the printer. Titanium dioxide pigment settles within hours, and a printer left idle without circulation will develop clogged print heads. Most DTF printers run automatic agitation cycles, but you should verify the system is working during daily startup checks.
Humidity control. Environmental humidity directly affects powder application and ink curing. High humidity causes TPU powder to clump and stick unevenly; low humidity can cause the ink to dry too quickly before the powder adheres. A controlled workspace, ideally with a dehumidifier or HVAC system, keeps output consistent.
Curing temperature and time. Inadequate curing produces washed-out prints or brittle adhesive that cracks under stress. Over-curing degrades the TPU and reduces flexibility. Use a digital laser thermometer to verify your heat press platen temperature rather than relying on the built-in gauge, which can drift over time.
Pro Tip: Verify your platen temperature with a laser thermometer at least once a week. Heat press gauges are notoriously inaccurate, and a 10-degree variance at the platen is enough to cause consistent curing failures.
Troubleshooting and quality control checklist:
- Run a nozzle check print before every production session to catch head clogs early
- Shake or circulate white ink tanks before printing if the printer has been idle overnight
- Store cured transfer films flat in a cool, dry location away from direct sunlight
- Test peel behavior on a scrap piece of film before pressing a full production run with a new film batch
- Press a test transfer on a similar fabric before committing a full order to the heat press
- Check adhesive coverage visually after powder application; bare spots indicate humidity or powder distribution problems
- Log curing time and temperature for each film type so you can reproduce successful results consistently
For a practical look at how Handmadeohiocrafts applies these steps to real orders, the DTF pressing instructions page covers temperature, timing, and tips specific to the transfers produced in-house. If you are setting up your own artwork files, the DTF file requirements guide walks through resolution, color mode, and bleed settings that affect print quality before the file ever reaches the printer.
Key Takeaways
DTF transfer printing delivers full-color, durable designs on nearly any fabric without pre-treatment, making it the most versatile option for small-batch custom apparel when screen printing setup costs are too high.
| Point | Details |
|---|---|
| Heat press parameters | Press at 160–170°C for 10–15 seconds for a reliable bond on most fabrics. |
| No pre-treatment needed | DTF works on cotton, polyester, and blends without any fabric preparation step. |
| White ink maintenance | Titanium dioxide settles fast; daily circulation and nozzle checks prevent costly clogs. |
| Peel method matters | Always follow the film manufacturer’s hot, warm, or cold peel specification to avoid adhesive failure. |
| RIP software controls quality | White ink density settings in RIP software determine color vibrancy and print flexibility. |
Ready to skip the equipment investment and get professional DTF transfers printed and shipped to you? Handmadeohiocrafts produces custom DTF transfers in-house from Waverly, Ohio, with no minimum order and nationwide shipping. Whether you need a single transfer for a personal project or a bulk run for a school event or business, the process starts with your artwork and ends with a press-ready transfer at your door. Browse the full custom apparel collection to see what is possible.