

Small Business Event Merch Checklist: Pack and Sell
A solid event merch run comes down to six categories: core merch (apparel, tumblers, stickers), display materials, point-of-sale setup, a day-of kit, signed proofs, and post-event reconciliation tools. Miss any one of them and you’re scrambling at the booth instead of selling. Here’s your quick-start checklist before the sections below walk through each in detail:
- Core merch: Confirm 3–5 SKUs are packed in a full size run, with a 15–20% buffer on top of your projected sell-through.
- Display: Retractable banner or backdrop, table throw, tiered risers, and printed price signs.
- POS: Card reader, charged backup battery, QR payment option, and a cash float.
- Day-of kit: Tape, zip ties, extra price tags, a basic first-aid kit, and a folding chair.
- Paperwork: Signed proof copies, your sales-tax permit, and an inventory count sheet.
- Production source: Handmadeohiocrafts handles no-minimum custom apparel, DTF transfers, and laser-engraved tumblers with fast turnaround — a practical option when quantities are small or the timeline is tight.
The Small Business Administration recommends keeping financial records for every sales event, and the IRS requires reporting event income — so your paperwork category is not optional.
Table of Contents
- What does a pre-event merch timeline actually look like?
- Which merch should you order, and how much?
- How do you get production right the first time?
- What display materials actually move product?
- How should you handle payments and inventory at the event?
- What goes in your day-of kit, and who runs the booth?
- What should you do in the 48 hours after the event?
- Key Takeaways
- The thing most small businesses get wrong about event merch
- Handmadeohiocrafts makes small-run event merch practical
What does a pre-event merch timeline actually look like?
Eight weeks is the comfortable window. Four weeks is doable, but only if your artwork is already finalized and your supplier confirms production availability before you commit.
| Milestone | 8-Week Timeline | 4-Week Compressed |
|---|---|---|
| Confirm event details and goals | Week 1 | Day 1–2 |
| Finalize artwork and SKU list | Week 2 | Day 3–5 |
| Submit proof request | Week 3 | Day 5–7 |
| Approve signed proof | Week 4 | Day 8–10 |
| Place production order | Week 4 | Day 10 |
| Production and quality check | Weeks 5 | Days 11–17 |
| Ship to venue or arrange pickup | Week 7 | Days 19–24 |
| Final inventory count and pack | Week 8 | Days 25–27 |
Budget line items to confirm before ordering:
- Unit cost per SKU (including setup fees if applicable)
- Shipping to your location or venue
- Booth fee and display hardware
- POS hardware or app subscription fees
- Contingency buffer (15–20% of total budget)
Pro Tip: On a compressed 4-week timeline, cut complexity first. Single-color DTF tees and printed tumblers move through production faster than multi-color embroidered hoodies. Lock those simpler SKUs first, then add premium items only if lead time allows.
Which merch should you order, and how much?
Pick 3–5 core SKUs and build three price tiers: a low-cost promo item ($5–$15), a mid-range impulse buy ($20–$35), and a premium piece ($40+). That spread captures every buyer type at the table.
| SKU | Foot Traffic: — | Foot Traffic: — | Foot Traffic: — | Buffer |
|---|---|---|---|---|
| Stickers / decals | 20–30 units | 50 units | 100–150 units | +20% |
| Custom tee | 15–20 units | 35–50 units | 70 units | +15% |
| Tumbler | 10–15 units | 25 units | 50 units | +15% |
| Hat | 8–12 units | 20–30 units | 40 units | +15% |
| Premium hoodie | 5–8 units | 12–18 units | 25 units | +10% |
These are starting estimates. Adjust based on your niche, price point, and whether the event is a general market or a targeted fan/customer base.
Quick pricing example for a custom tee:
- Unit cost: $12 (DTF print on a blank tee)
- Suggested retail: $30
- Gross margin: $18 per unit
- Break-even at 10 units sold (covers a $180 production run)
What not to do:
- Never order a full run in one size. A size spread of S–2XL is the minimum; add 3XL if your audience skews that way.
- Don’t skip proof approval to save a day. A wrong color or misplaced logo on 50 shirts costs far more than the 24 hours you saved.
- Avoid ordering every SKU in equal quantities. Your mid-range item typically outsells the premium piece 3-to-1 at pop-ups.
For more branded promotional product ideas across price tiers, the Handmadeohiocrafts guide breaks down categories by budget.
How do you get production right the first time?
Confirm artwork specs and proof approval before any order goes into production. A signed proof is your only protection against a costly reprint.
Artwork spec checklist:
- File format: PNG or PDF preferred; SVG accepted for vector art
- Color mode: CMYK for print; RGB only if the printer specifically requests it
- Resolution: 300 DPI minimum at print size
- Safe area: keep all critical elements at least 0.25 inches from any edge
- Font handling: outline all fonts before exporting
Proof approval checklist:
- Confirm design placement matches your mockup
- Check color accuracy against your brand hex codes
- Verify size (measure against a physical garment if possible)
- Sign and date the proof; save a digital copy
Supplier checks before ordering:
- Confirm production lead time in writing
- Ask about minimum order quantities (Handmadeohiocrafts has none)
- Verify shipping options and estimated delivery dates
- Inspect a sample or first-article piece before approving a full run
Handmadeohiocrafts produces everything in-house, which means fast turnaround custom printing without the communication lag of outsourced production. DTF transfers, laser engraving, and tumblers are all handled under one roof. Keep your signed proofs and production timestamps on file — you’ll need them for post-event reconciliation if a quantity dispute comes up.
For detailed DTF file requirements, Handmadeohiocrafts publishes a full artwork setup guide.
What display materials actually move product?
One strong visual anchor does more work than a cluttered table full of small signs. A retractable banner or printed backdrop behind your booth tells shoppers who you are from 20 feet away. Everything else supports it.
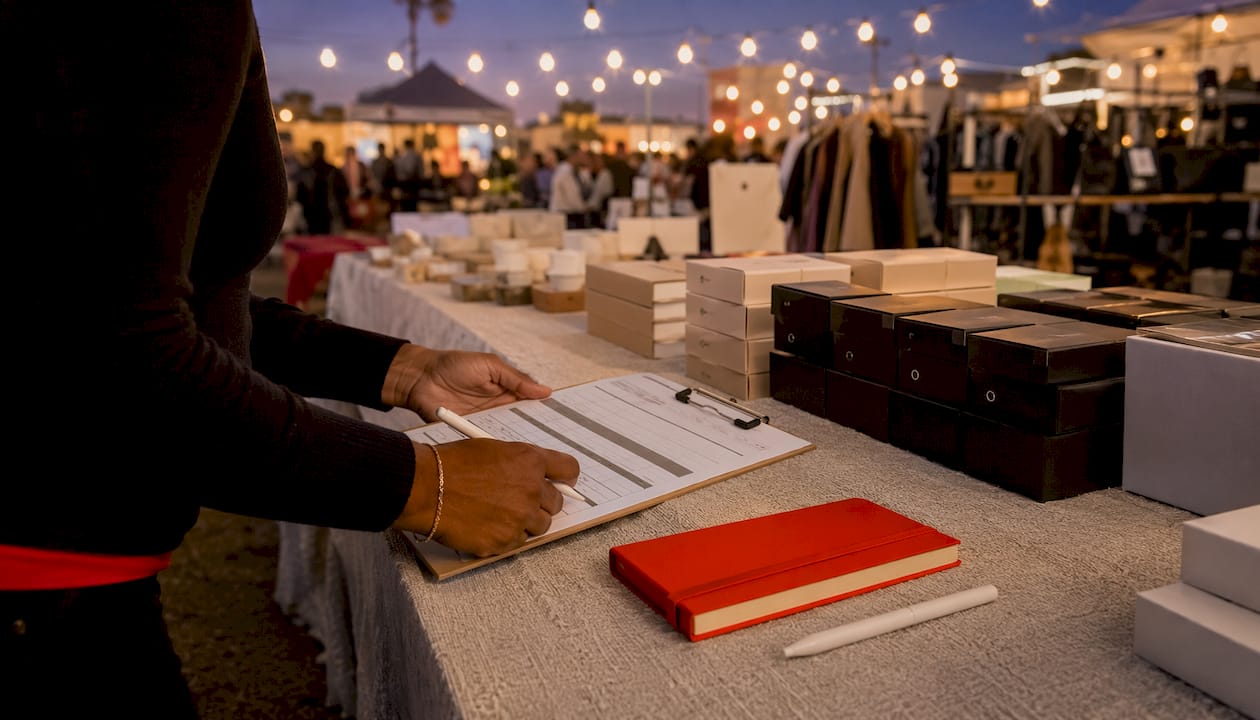
Trade-show supply vendors stock durable display hardware including banner stands, table throws, and literature holders designed for repeated use — worth the investment if you do more than one or two events per year.
Display items to pack:
- Retractable banner or printed backdrop (your visual anchor)
- Branded table throw (covers clutter, reinforces branding)
- Tabletop risers or crates (create visual tiers)
- Hang rack or portable clothing rack for apparel
- Mannequin or dress form for one hero garment
- Printed price signs and product cards
- Business cards and a QR code sign linking to your online store
Before the event, photograph your full display setup at home. Check whether prices are readable from five feet away and whether the table looks tidy or overwhelming. Fix it there, not at the venue.
Pro Tip: Group items by price tier, not by product type. Shoppers scan left to right; put your lowest-cost items on the left to draw them in, then let their eye travel to the premium pieces.
How should you handle payments and inventory at the event?
Set up a primary and a backup payment method before event day, and test both. A card reader that fails at the first sale costs you real money.
POS hardware checklist:
- Card reader (Square, Stripe Reader, or equivalent)
- Fully charged phone or tablet
- Backup battery pack (10,000 mAh minimum)
- Charging cables for every device
- QR code sign for contactless payment (Venmo, PayPal, Cash App)
- Cash float ($100–$150 in small bills and coins)
Software features to confirm:
- Offline mode (events often have poor Wi-Fi)
- Automatic receipt via email or SMS
- Sales tax settings configured for your state
- Per-SKU inventory tracking
For inventory, a simple spreadsheet with opening counts per SKU, sales tally, and a closing count works fine when integrated POS reporting isn’t available. Reconcile it at the end of each day, not at the end of the event. Keep records for IRS reporting and your state’s sales-tax obligations — consult IRS Publication 334 and your state revenue department for specifics.
What goes in your day-of kit, and who runs the booth?
Pack a dedicated day-of kit in a single tote or bin so nothing gets left behind. The goal is zero downtime from a missing tool or a dead battery.
Day-of packing checklist:
- Tape (gaffer tape and clear tape)
- Zip ties and bungee cords
- Extra price tags and a marker
- Scissors and a box cutter
- Backup apparel in the most popular sizes
- Spare batteries (AA and AAA)
- Signage repair supplies (extra banner clips, command strips)
- Basic first-aid kit (bandages, pain reliever, antacids)
- Water, snacks, and a folding chair for long events
- Venue contact number and emergency procedures card
Recommended staff roles for a two- or three-person team:
- Lead seller: Handles transactions, answers product questions, and manages the cash float.
- Floater/greeter: Engages foot traffic, hands out promo items, and restocks the display.
- Inventory manager: Tracks sell-through on the spreadsheet, monitors low-stock SKUs, and handles returns.
Train every team member on your return policy and how to process a refund on your POS before the event opens. For heavy items and venue loading docks, assign one person to manage the cart and confirm the venue’s load-in rules in advance.
What should you do in the 48 hours after the event?
Reconcile sales and inventory within 48 hours. Memory fades fast, and errors caught on day two are far easier to resolve than errors caught a week later.
Post-event checklist:
- Run your POS end-of-day report and match it to your inventory count sheet
- Log returned or damaged items separately
- Deposit cash and reconcile with card sales totals
- Flag any SKUs that sold out for restock priority
- Pull signed proofs and production records for your files
Email follow-up cadence:
- Within 24–48 hours: Thank-you email to anyone who opted in at the booth. Keep it short.
- Day 5–7: A limited-time offer (10% off their next order, free shipping, etc.).
- Day 14–21: A short survey or reorder CTA, especially for custom items like tumblers or apparel.
Always collect email permission at the booth, either via a sign-up sheet or a QR code to a landing page. The one KPI worth tracking for event ROI: net sales minus total costs (production, booth fee, shipping, staff hours), divided by staff hours worked. That number tells you whether the event format is worth repeating.
Your printable merch checklist by category
Print this page or save it to your phone. Check off each category as you pack.
Core merch:
- [ ] All SKUs packed in full size run
- [ ] 15–20% buffer units included
- [ ] Price tags attached or included separately
Display:
- [ ] Retractable banner or backdrop
- [ ] Branded table throw
- [ ] Tabletop risers
- [ ] Hang rack and/or mannequin
- [ ] Printed price signs and business cards
POS:
- [ ] Card reader and charging cable
- [ ] Backup battery pack
- [ ] QR payment sign
- [ ] Cash float ($100–$150)
- [ ] Inventory count sheet
Day-of kit:
- [ ] Tape, zip ties, scissors
- [ ] Extra price tags and marker
- [ ] Backup batteries
- [ ] First-aid basics
- [ ] Water, snacks, folding chair
Paperwork:
- [ ] Signed proof copies
- [ ] Sales-tax permit (if required by your state)
- [ ] Vendor agreement or booth confirmation
- [ ] Emergency contact card
For a tabletop market, you can trim this to core merch, a table throw, one sign, and your card reader. A small trade-show booth warrants the full list plus a hang rack, mannequin, and a second staff member. Printable vendor templates are also available on Etsy if you want a formatted version to customize.
Key Takeaways
A complete small business event merch checklist covers six categories: core merch with buffer stock, display hardware, POS setup, a day-of kit, signed proofs, and a post-event reconciliation plan.
| Point | Details |
|---|---|
| Start 8 weeks out | Finalize artwork and approve proofs by week 4 to avoid production delays. |
| Order 3–5 SKUs with buffer | Pack 15–20% more than your projected sell-through; never order a single size. |
| Redundant payment setup | Bring a card reader, a backup battery, a QR payment option, and a cash float. |
| Reconcile within 48 hours | Match POS reports to inventory counts while details are still fresh. |
| Handmadeohiocrafts for small runs | No-minimum DTF printing and laser engraving make last-minute or small-batch event orders practical. |
The thing most small businesses get wrong about event merch
Most of the advice out there focuses on what to order. The real failure point is almost always timing and proof approval, not SKU selection.
Watching a small business show up to a pop-up with shirts in the wrong color because they skipped the proof step, or arrive with 40 hoodies in size medium because they assumed that’s what sells, is a painful and avoidable situation. The fix isn’t complicated: a signed proof and a size spread. Two steps that cost almost nothing and prevent the most common disasters.
The other thing worth saying plainly: low minimums matter more than low unit prices for most small events. If you’re ordering 24 tees for a local market, a supplier who requires 72 units minimum is not actually cheaper — they’re forcing you to over-order. In-house production options that accept small runs, like Handmadeohiocrafts, solve a real problem that bulk pricing doesn’t.
Fast proofs and flexible quantities are the two things that actually keep small-business event merch on track. Everything else on this checklist supports those two priorities.
Handmadeohiocrafts makes small-run event merch practical
When you’re ordering 12 custom tees and 20 laser-engraved tumblers for a weekend pop-up, most large print shops either won’t take the order or will charge you setup fees that kill your margin. Handmadeohiocrafts is built for exactly that situation: no minimum orders, in-house DTF printing and laser engraving, and fast turnaround from a real production team in Waverly, Ohio.
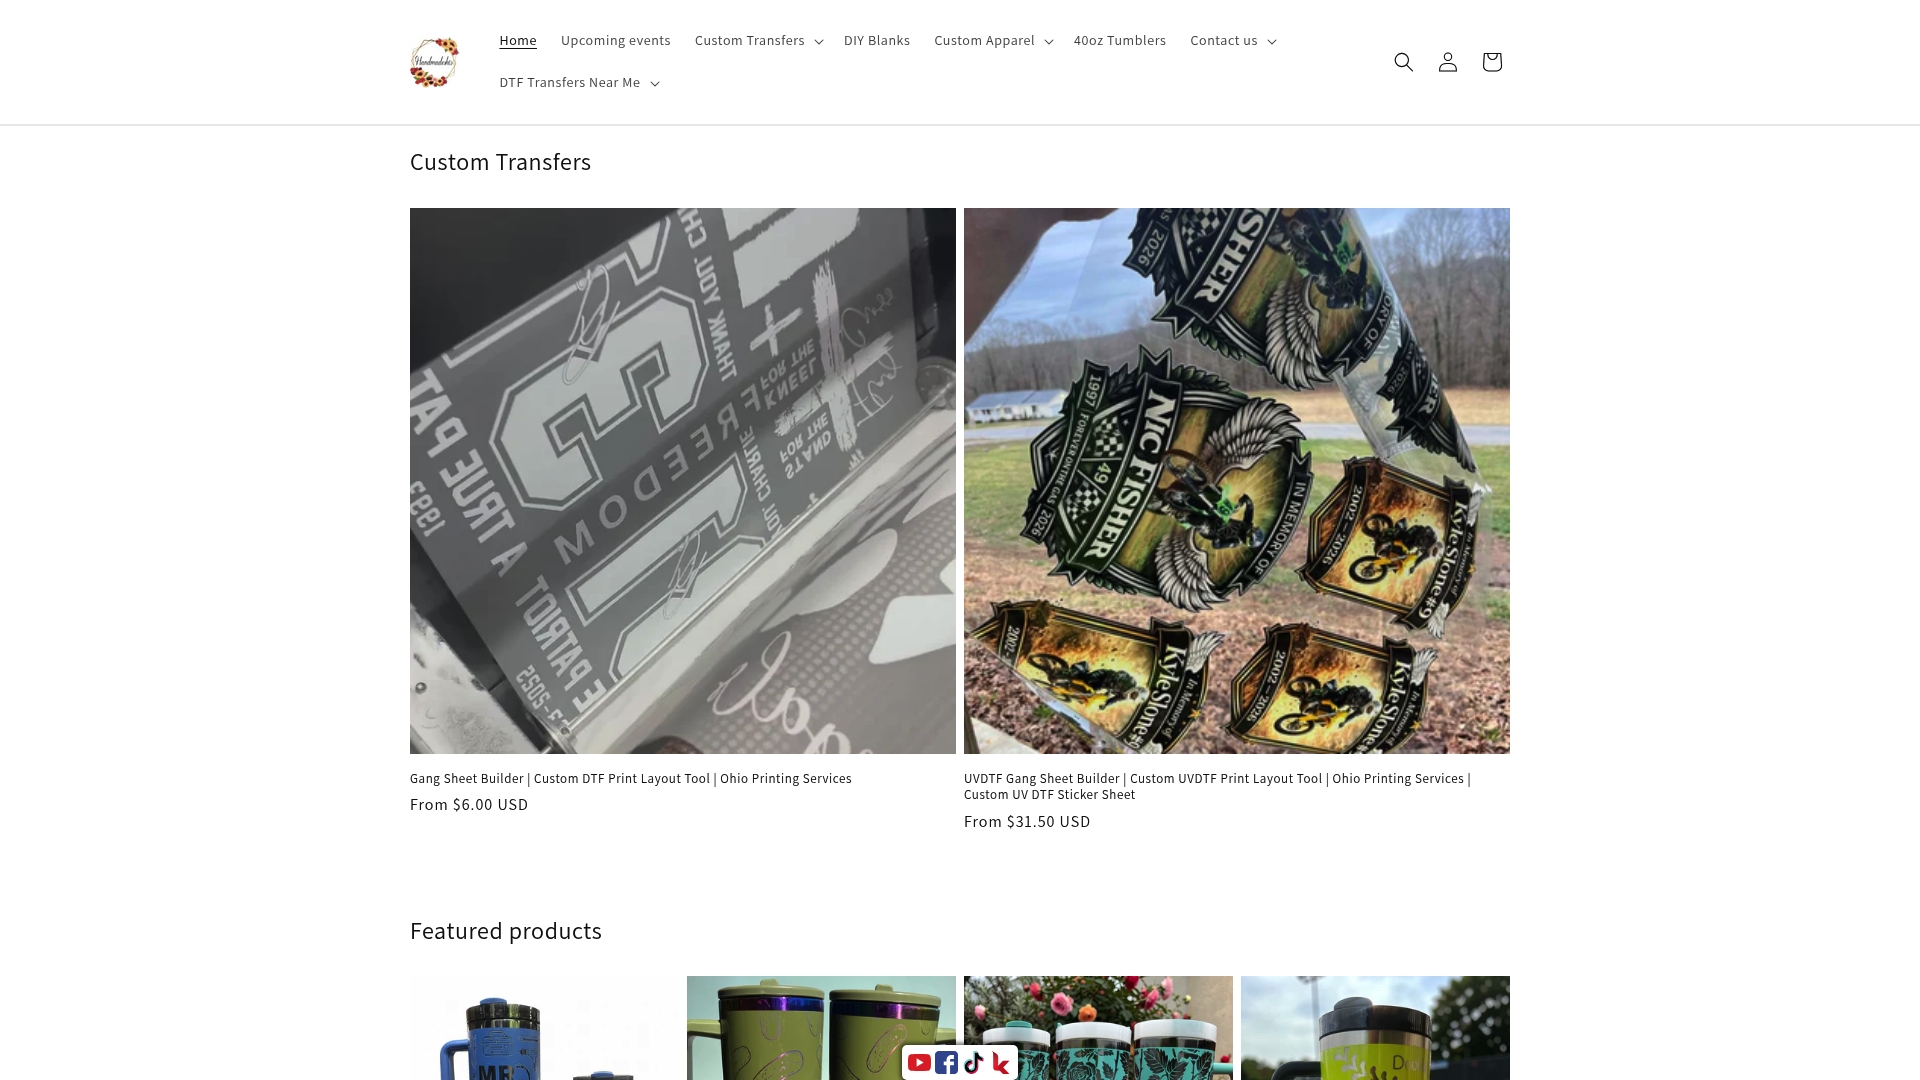
For event merch, the most practical starting point is custom apparel for your core SKUs and DTF transfers if you want to press your own blanks. Laser-engraved tumblers round out a strong three-tier merch table without requiring a large upfront commitment. Upload your artwork, approve a proof, and choose shipping or pickup. That’s the whole process. Visit handmadeohiocrafts.com to start your event order.