

Custom Apparel Ordering Checklist for Businesses
A custom apparel ordering checklist for businesses is a systematic guide that covers every critical step needed to produce quality branded apparel on schedule and within budget. Most ordering mistakes happen before production even starts. Skipping artwork proofing, ignoring minimum order quantities, or choosing the wrong decoration method can cost your business time, money, and brand credibility. This guide walks you through each stage of the process, from file preparation to final delivery, so your team gets the right product the first time. Handmadeohiocrafts has built this checklist from real production experience with businesses, schools, nonprofits, and sports teams across the country.
1. The custom apparel ordering checklist businesses need starts with design prep
Design preparation is the single most preventable source of order delays and reprints. Getting your artwork right before you submit an order saves money and keeps your timeline intact.
Your artwork files must meet specific technical standards for clean, accurate printing:
- File format: Submit PNG files with a transparent background or vector files (AI, EPS, SVG). Raster files like JPEG compress image data and cause blurry prints.
- Resolution: Use a 300 DPI minimum resolution for any raster artwork. Lower resolution looks sharp on screen but prints pixelated.
- Color mode: Convert RGB files to CMYK before submitting. RGB colors display on screens but printers use CMYK, and the shift can change your brand colors noticeably.
- Mockup review: Always proof your artwork on a digital mockup before approving. Check placement, proportion, and how the design reads at actual print size.
Design complexity also affects your decoration method and cost. A 12-color gradient works well for Direct-to-Film (DTF) printing but adds significant cost to screen printing, which charges per color. Knowing this before you finalize your design prevents budget surprises.
Pro Tip: Request a print placement guide from your supplier before finalizing artwork. Standard chest placement sits 3–4 inches below the collar, but oversized prints and sleeve graphics each follow different rules.
2. How to choose the right apparel supplier
Decoration method drives final product quality more than any other single factor. Screen printing, embroidery, and DTF transfers each produce different results in terms of durability, color vibrancy, and texture. Base your supplier choice on their proven capability with your chosen method, not on price alone.
Key criteria to evaluate when selecting a supplier:
- Decoration capabilities: Confirm the supplier handles your specific method in-house. Outsourced decoration adds lead time and reduces quality control.
- Production capacity: Ask how many units they can produce per week. A supplier who cannot handle your volume will miss your deadline.
- Turnaround time: Get a written production timeline, not a verbal estimate. Standard production runs 7–14 business days, but complex orders take longer.
- Minimum Order Quantity (MOQ): Large MOQs increase inventory risk and storage costs. Negotiate MOQ to match your actual demand, or find a supplier with no minimums.
- Communication: Identify a single point of contact. Fragmented communication across multiple reps creates errors.
A supplier with a higher quote but better communication and production control saves money long term. Total landed cost, including shipping, customs, and testing, gives a more accurate financial picture than unit price alone.
Comparing total landed costs is a procurement discipline that most business owners skip. Factor in freight, any import duties, and quality testing fees before making a final supplier decision.
3. How to lock in your timeline and avoid delays
Setting a firm “in-hands” date and working backward from it is the most reliable way to protect your deadline. Build in a buffer of at least five business days between your internal deadline and the date you actually need the apparel. That buffer absorbs shipping delays, revision rounds, and approval lag.
Proof approval is a critical checkpoint in every order. Changes requested after you approve a proof typically trigger extra costs and push your delivery date back. Treat proof approval as a final decision, not a suggestion.
A realistic timeline for a standard bulk order looks like this: artwork finalization takes 2–3 days, sampling takes 5–7 days, production takes 7–14 days, and shipping adds 3–7 days depending on destination. That totals a minimum of 17–31 days from artwork submission to delivery. Plan accordingly, especially for seasonal events or trade shows with fixed dates.
4. Managing order approvals and quality control
Pre-production approval is the stage where most costly errors get caught or missed. Skipping it is the most expensive shortcut in custom apparel ordering.
Follow these steps in order:
- Request a pre-production sample (golden sample). This physical sample confirms fabric, color, logo placement, and sizing before bulk production begins. Review it against your original tech pack specifications.
- Hold a pre-production meeting. Confirm all specs before bulk cutting, including fabric weight, logo placement coordinates, graded measurements, and packaging requirements. Once cutting starts, reversing errors becomes exponentially more expensive.
- Document every approval in writing. Involve stakeholders in sample review and get sign-off from everyone who has authority to approve. Verbal approvals cause disputes.
- Define your Acceptable Quality Level (AQL). AQL is an industry standard that sets the maximum acceptable defect rate for a production run. Most apparel buyers use AQL 2.5, which allows no more than 2.5% defective units in a batch.
- Inspect at least 10% of received units. A post-production random inspection of 10% of your order catches defects before you distribute apparel to your team or customers. Fixing defects after distribution costs far more than catching them at the warehouse.
Pro Tip: Keep a print test log for every order. Record the decoration method, ink type, garment brand, and wash test results. This log becomes your quality baseline for repeat orders and helps you catch supplier inconsistencies early.
5. Logistics, packaging, and final delivery
Packaging requirements are often overlooked until the last minute, and that oversight creates warehouse chaos. Specify your packaging needs in writing before production begins.
Standard business apparel packaging requirements include:
- Polybags: Individual polybag per unit protects garments during shipping and storage.
- Size stickers: Each polybag should be labeled with size, color, and SKU for easy sorting.
- Hangtags: Required for retail or event distribution. Confirm hangtag design and attachment method with your supplier.
- Carton labeling: Each shipping carton should list contents, quantity, size breakdown, and destination.
| Packaging Element | Purpose | Required For |
|---|---|---|
| Polybag | Protects garment from moisture and dirt | All shipments |
| Size sticker | Identifies size and color at a glance | Bulk and retail orders |
| Hangtag | Branding and product information | Retail and event distribution |
| Carton label | Tracks contents and destination | Multi-location deliveries |
Shipping method selection depends on your timeline and budget. Ground freight is the most cost-effective option for large domestic orders. Air freight costs significantly more but cuts transit time to 1–3 days. For multi-location deliveries, confirm whether your supplier ships direct to each location or consolidates to one address first.
Prepare a warehouse receiving checklist before your shipment arrives. Verify unit count, size breakdown, color accuracy, and packaging condition against your purchase order. Flag discrepancies immediately, before you sign the delivery receipt.
6. Common pitfalls and how to avoid them
The most common mistake businesses make is underestimating how the decoration method affects quality and brand reputation. A logo that looks sharp in screen print may crack after ten washes if the wrong ink system is used. Test wash durability before approving bulk production.
Other pitfalls that derail orders:
- Ignoring MOQ impact: Ordering more than you need to hit a price break creates storage costs and inventory waste. Match order quantity to realistic demand.
- Skipping artwork proofing: Submitting unreviewed artwork is the fastest way to receive 500 shirts with a typo or the wrong Pantone color.
- No lead time buffer: Assuming production will finish early is optimistic. Build buffer time into every order, especially for peak seasons like october through december.
- Undocumented approvals: Verbal sign-offs create disputes. Every approval, revision, and spec change must exist in writing.
The businesses that run the smoothest apparel programs treat their ordering checklist as a living document. They update it after every order cycle based on what went wrong and what worked.
Insist on documented acceptance of all quality standards, inspection plans, and production schedules before committing to a final order. This single practice eliminates the majority of costly reworks and supplier disputes. Pair it with a custom apparel guide for artwork decisions to keep your entire team aligned on standards.
Key takeaways
A complete custom apparel ordering checklist covers design prep, supplier evaluation, pre-production approval, quality inspection, and logistics to protect your budget and brand on every order.
| Point | Details |
|---|---|
| Artwork file standards | Submit 300 DPI PNG or vector files in CMYK to avoid print errors and color shifts. |
| Supplier selection | Choose based on decoration method capability and total landed cost, not unit price alone. |
| Pre-production approval | Get a golden sample and written sign-off before bulk cutting begins. |
| Quality inspection | Inspect at least 10% of received units to catch defects before distribution. |
| Timeline planning | Build a five-day buffer between your internal deadline and your actual in-hands date. |
What I’ve learned from watching businesses skip the checklist
Most businesses treat their first custom apparel order as a learning experience. That framing is expensive. The mistakes I see most often are not complicated. They are skipped steps that feel unnecessary until they cost someone $3,000 in reprints or a missed event deadline.
The pre-production meeting is the step teams skip most. They approve a digital mockup, assume production will match it, and then receive garments with logos placed two inches lower than expected. A physical golden sample review takes one extra day. It prevents weeks of back-and-forth after the fact.
I also see businesses undervalue supplier relationships. A supplier who knows your brand standards, your preferred Pantone colors, and your typical size run will catch errors before they happen. That institutional knowledge is worth more than saving a few cents per unit by switching suppliers every order.
The checklist itself should evolve. After every order cycle, note what caused friction. Did the artwork take longer than expected? Did a size run out? Did packaging arrive damaged? Add a checkpoint for each issue. A checklist that reflects your actual experience is far more useful than a generic template.
— Aaron
Handmadeohiocrafts: custom apparel built for businesses
Businesses that follow a thorough ordering checklist still need a production partner who can execute every step reliably. Handmadeohiocrafts produces custom t-shirts, hoodies, hats, and promotional products entirely in-house from Waverly, Ohio, with no minimum order requirements and nationwide shipping.
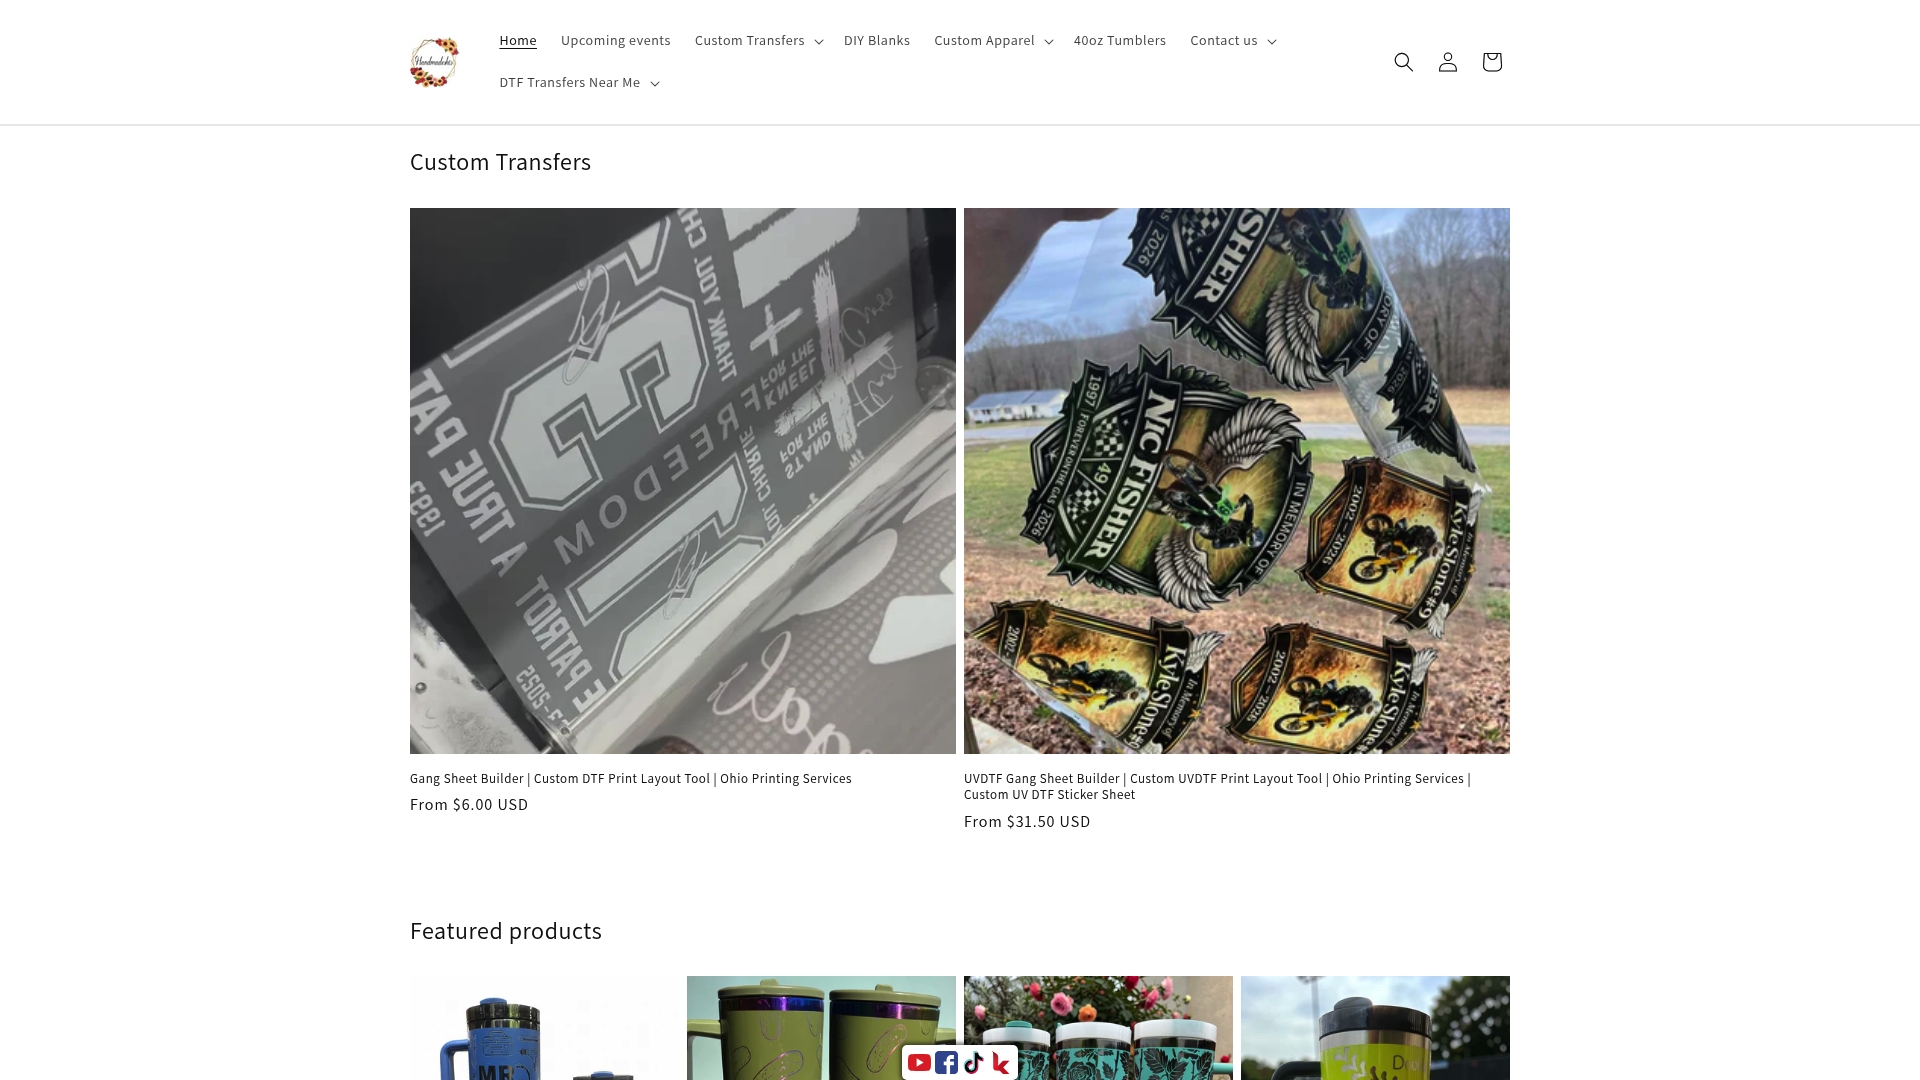
Whether you need DTF transfers for vibrant, wash-durable prints or a full run of custom apparel for your next event, Handmadeohiocrafts handles design, production, and quality control under one roof. Fast turnaround times and direct communication mean your order stays on schedule. Reach out to get a quote and put your checklist to work with a team that treats every order as if their own brand is on the line.
FAQ
What file format should I submit for custom apparel orders?
Submit PNG files with a transparent background or vector files such as AI or EPS. Files must be at least 300 DPI and converted to CMYK color mode for accurate print results.
What is a golden sample in custom apparel production?
A golden sample is a pre-production physical garment that confirms fabric, fit, logo placement, and color before bulk production begins. Approving it in writing protects you from errors that are expensive to fix after cutting starts.
How many units should I inspect when my order arrives?
Inspect at least 10% of received units as a random sample check. This post-production step catches defects before distribution and costs far less than addressing end-user complaints after the fact.
What does MOQ mean and why does it matter?
MOQ stands for Minimum Order Quantity, the smallest number of units a supplier will produce per order. High MOQs increase inventory risk and storage costs, so negotiate MOQ to match your actual demand or work with a supplier who has no minimums.
How far in advance should I place a bulk apparel order?
Plan for a minimum of 17–31 days from artwork submission to delivery for a standard bulk order. Add a five-day internal buffer beyond your actual in-hands date to absorb unexpected delays in production or shipping.