

What Does Print Ready Art Mean for Your Files?
What does print ready art mean?
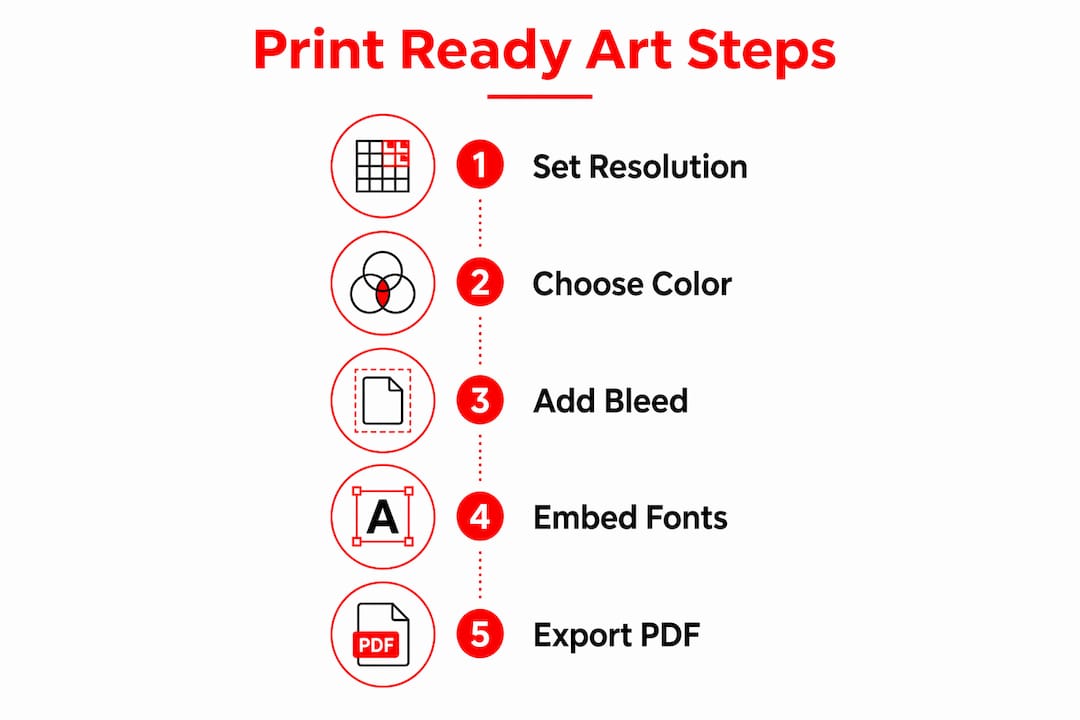
Print ready art is a digital file formatted to meet every technical specification a printer requires, so it can go straight to production without pre-press adjustments. No back-and-forth. No guesswork. The press runs and your design comes out exactly as intended.
A file earns print ready status when it checks every box:
- Correct dimensions built to the final product size
- Resolution at or above 300 dpi for sharp, clear output
- Color mode set to CMYK or the appropriate spot color system
- Bleed extending artwork beyond the trim line
- Fonts embedded or converted to outlines
- File format the printer can use without rebuilding the layout
Having a logo or a rough layout idea does not make a file print ready. The file must be correctly built for production. Skip any one of those elements and you risk delays, unexpected color shifts, or a reprint at your expense.
Table of Contents
- Vector vs. raster: which file type works best for print?
- How fonts can make or break your print file
- Why 300 dpi is the standard for print resolution
- Understanding CMYK and PMS color modes
- Bleed, trim lines, and safe zones explained
- Additional technical guidelines every print file needs
- Expert tips and common mistakes in preparing print ready art
- Handmadeohiocrafts makes custom printing straightforward
- Key Takeaways
Vector vs. raster: which file type works best for print?
The file type you choose shapes everything about how your artwork scales and reproduces on press.
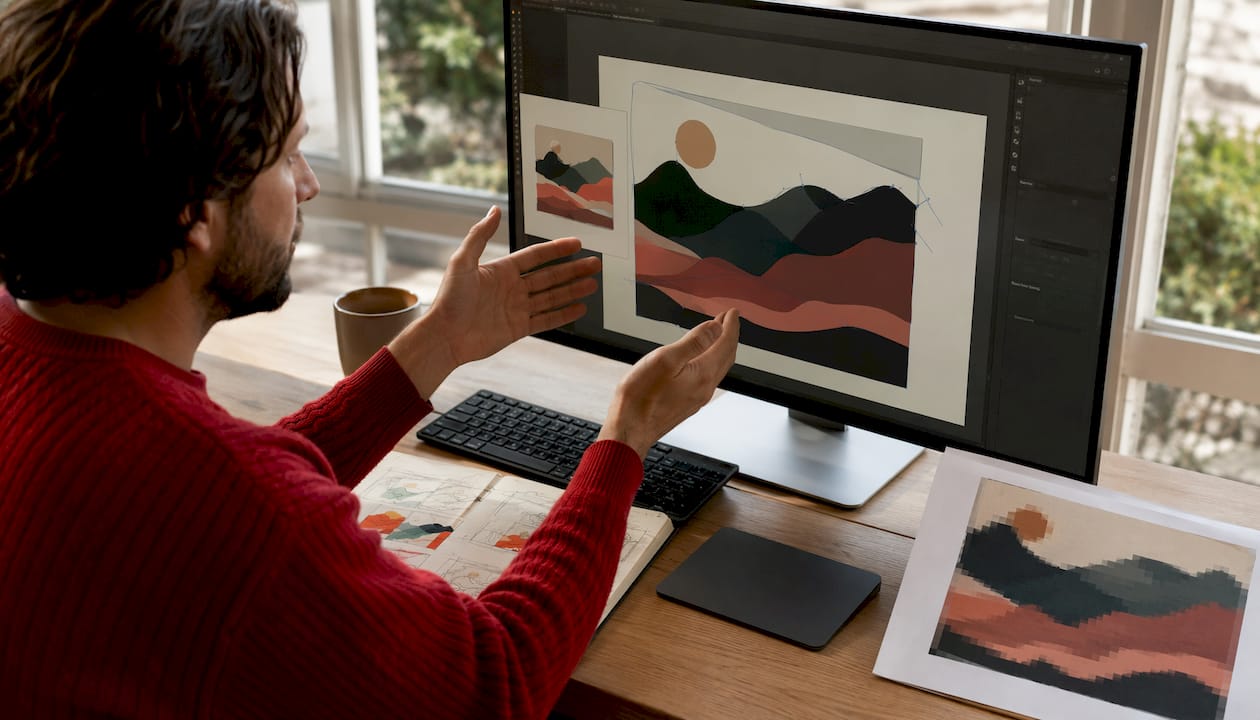
Vector files are built from mathematical paths, not pixels. Software like Adobe Illustrator or InDesign generates vector artwork that stays sharp at any size. Scale a vector logo from a business card to a billboard and the edges stay crisp. That scalability makes vector the preferred format for logos, text, and line art.
Raster files are pixel grids. A raster image that looks fine on screen can print blurry or blocky if it was created at low resolution or scaled up. Photographic images are almost always raster, which is fine when the resolution is high enough.
- Preferred print formats: PDF exported from vector software, EPS, AI
- Acceptable raster formats: TIFF or high-resolution JPEG at 300 dpi or above
- Avoid: low-resolution JPEGs, PNG files saved from web displays, screenshots
Pro Tip: Export your final file as a PDF from Illustrator or InDesign rather than saving a native file. PDFs package all elements together and travel cleanly between design and print environments.
How fonts can make or break your print file
Fonts are one of the most common sources of print errors, and the fix takes about 30 seconds.
Embedding fonts or converting them to outlines eliminates the risk of font substitution entirely. When a printer’s system does not have the exact font you used, it swaps in a default, and your carefully spaced headline suddenly looks wrong. Converting text to outlines in Illustrator turns each letter into a vector shape, so no font file is needed at all. In InDesign, embedding fonts through the PDF export settings achieves the same result.
- Convert all text to outlines before exporting from Illustrator
- Use “Embed All Fonts” in InDesign’s PDF export dialog
- Check kerning and tracking before converting, since outlines lock spacing permanently
- Watch for special effects like drop shadows or warped text that may need flattening separately
Why 300 dpi is the standard for print resolution
Resolution determines whether your printed image looks sharp or looks like it was printed through a screen door.
The industry standard for print is 300 dpi (dots per inch) at the final output size. An image that measures 300 dpi at 4 inches wide will look soft and pixelated if you stretch it to 8 inches, because the pixel count stays the same while the physical size doubles. Always check resolution at the actual print dimensions, not the screen preview size.
- 300 dpi minimum for photos and detailed raster artwork
- 72 dpi (typical web resolution) is never acceptable for print
- Check resolution in Adobe Photoshop via Image > Image Size with “Resample” unchecked
- Vector artwork is resolution-independent and does not require a dpi check
Understanding CMYK and PMS color modes
Your monitor uses light to create color. A printing press uses ink. Those two systems do not speak the same language, which is why color mode matters so much in print ready design.
CMYK (Cyan, Magenta, Yellow, Black) is the standard color mode for process printing. Every file going to a commercial press should be converted to CMYK before submission. Sending an RGB file forces the printer’s software to convert it automatically, and that conversion often produces duller, shifted colors you did not approve.
PMS (Pantone Matching System) uses premixed spot inks for exact color reproduction. A specific Pantone color prints identically on every press, every time. PMS is the right choice for brand colors where consistency across runs is critical, such as a company logo on apparel, packaging, or promotional items.
- Convert RGB designs to CMYK in Photoshop or Illustrator before exporting
- Use Pantone spot colors when exact brand color matching is required
- Exact RGB-to-CMYK matches are not guaranteed due to the fundamental difference between light and pigment
- Always request a physical proof when color accuracy is critical
Bleed, trim lines, and safe zones explained
These three concepts work together to prevent the most visible print mistake: a white sliver of unprinted paper along the edge of a finished piece.
Bleed is the extra artwork you extend beyond the final cut line, typically 0.125 inches (about 3mm). Because mechanical cutting has slight tolerances, the blade never lands in exactly the same spot twice. Bleed covers that variance so the color or image runs flush to the edge. Skipping bleed is the single most common cause of white edge problems.
The trim line marks where the cutter will slice. Everything outside it gets removed.
The safe zone sits roughly 0.125 inches inside the trim line. Keep all text, logos, and critical content inside this boundary so nothing important risks getting clipped.
- Add 0.125 inches of bleed on all four sides as a baseline
- Never place text or logos outside the safe zone
- Use guides in Illustrator or InDesign to mark bleed and safe zone boundaries visually
- Check your printer’s specific bleed requirements, since some products require more
For a deeper look at how these specs apply to custom apparel and transfer printing, the DTF file requirements guide from Handmadeohiocrafts covers product-specific setup in detail.
Additional technical guidelines every print file needs
A few finishing steps separate a file that prints cleanly from one that causes headaches on press.
Flattening your artwork collapses all layers into a single image, which prevents transparency conflicts and layout shifts when the file moves through different software environments. Printers consistently prefer flattened PDFs because they lock every element in place. Submit one job per file rather than bundling multiple designs together, since mixed files create confusion and increase the chance of errors.
- Flatten all layers before exporting the final PDF
- Include crop marks and color bars for professional offset print jobs
- Name files clearly with the job name, version, and date
- Confirm the PDF standard with your printer (PDF/X-1a is widely accepted for commercial print)
Understanding print quality standards for your specific product type helps you match file settings to the press being used.
Expert tips and common mistakes in preparing print ready art
Most print errors trace back to the same short list of oversights. Catching them before submission saves time, money, and the frustration of a reprint.
Common mistakes to avoid:
- Missing bleed on any edge of the design
- Fonts left live (not embedded or outlined) in the exported file
- Images placed at 72 dpi from a web source
- Color mode left in RGB instead of converted to CMYK
- Multiple jobs bundled into one file
- Artwork built at the wrong final dimensions
Submitting a truly print ready file lets you bypass the manual pre-flight stage entirely, which is where delays and unauthorized edits typically happen. The artwork file prep guide from Handmadeohiocrafts walks through each of these checkpoints with product-specific examples.
Pro Tip: Before submitting, zoom your PDF to 100% and check every corner for bleed, every text block for font conversion, and every image for pixelation. That three-minute review catches the errors that cause reprints.
Handmadeohiocrafts reviews every file submission and flags issues before production starts, so customers get a chance to correct problems rather than discovering them on a finished product.
Handmadeohiocrafts makes custom printing straightforward
Getting your file right is half the work. Finding a printer who handles the other half with care is the rest.
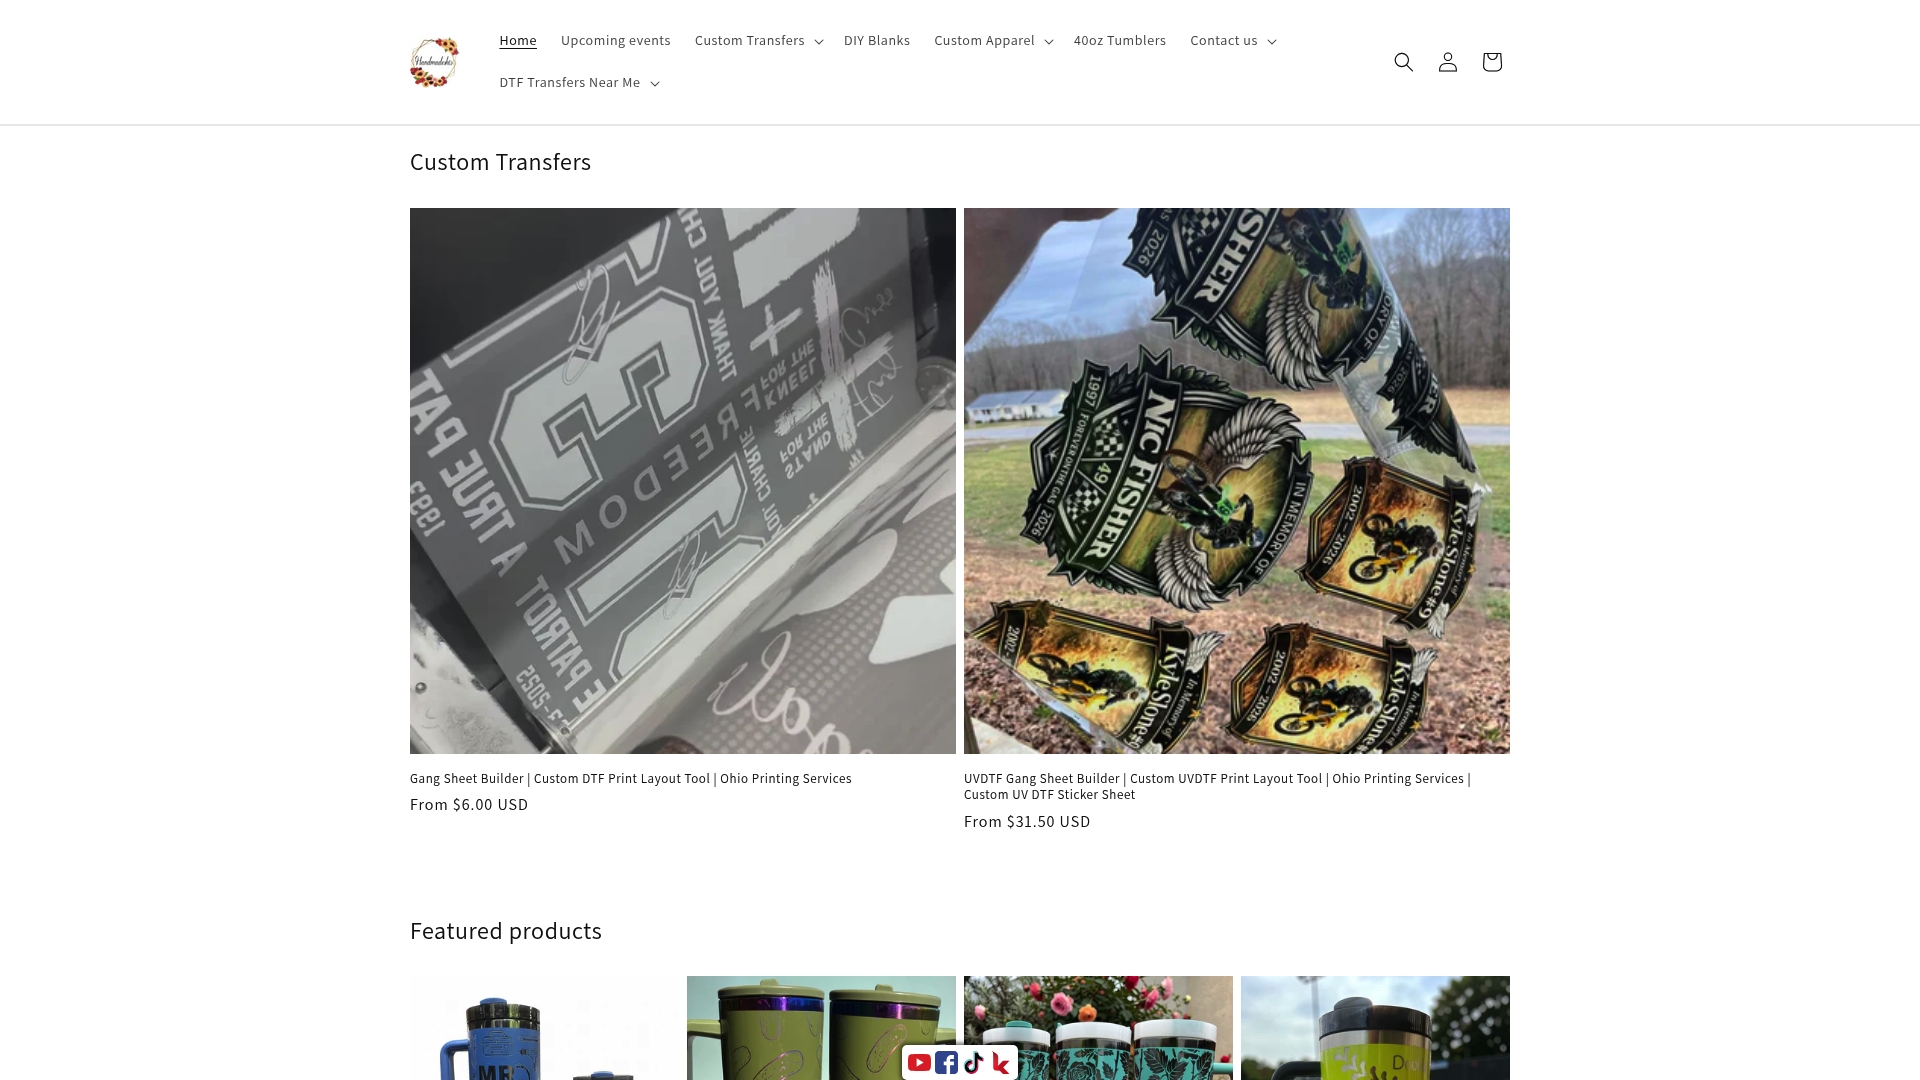
Handmadeohiocrafts produces custom t-shirts, hoodies, hats, DTF transfers, UV DTF decals, laser-engraved tumblers, and promotional products entirely in-house from Waverly, Ohio. Every order goes through a pre-production file review, so if your artwork has a resolution issue or a missing bleed, the team catches it before the press runs, not after. No minimums, nationwide shipping, and fast turnaround mean you get professional results without the overhead of a large print shop. Browse the full range of custom apparel options or get a quote directly to start your order.
Key Takeaways
Print ready art is a file built to exact printer specifications, covering resolution, color mode, bleed, fonts, and format, so production can start without corrections.
| Point | Details |
|---|---|
| Resolution standard | Print images require a minimum of 300 dpi at final output size to avoid pixelation. |
| Color mode matters | Convert all files from RGB to CMYK before submission to prevent unexpected color shifts. |
| Bleed prevents white edges | Extend artwork 0.125 inches beyond the trim line on all sides to cover cutting tolerances. |
| Fonts must be secured | Embed fonts or convert them to outlines so no substitution errors occur on the printer’s system. |
| Handmadeohiocrafts file review | Every submission gets a pre-production check, catching errors before they reach the press. |