

What Is Digital Art File Printing for Custom Apparel?
Digital art file printing transfers a digitally created image directly from a computer file onto a physical surface, with no printing plates required. Three things matter most before you order: your file should be 300 DPI at final print size (an 8×10-inch print requires a high enough resolution to ensure sharp detail), professional labs prefer TIFF or PDF formats, and the substrate you choose changes how the final print looks and lasts. Getting these three right before you upload saves you from reprints, color surprises, and production delays.
- Resolution: 300 DPI minimum at final print dimensions
- Formats: TIFF (lossless), PDF (layout/text), PNG/JPEG (when acceptable)
- Substrate note: fabric, coated tumblers, and canvas each behave differently under ink
Handmadeohiocrafts publishes a dedicated artwork setup guide that spells out exactly what files they need for DTF transfers and other production methods.
Table of Contents
- How does a digital file become a finished printed product?
- What file specs do printers actually require?
- Which printing method should you use for your product?
- How to prepare a print-ready artwork file step by step
- Why do proofs and test prints matter so much?
- What causes most print failures and how do you fix them?
- How Handmadeohiocrafts handles your files in practice
- Key Takeaways
- The part most customers underestimate
- Handmadeohiocrafts makes file prep and production straightforward
- Useful sources
How does a digital file become a finished printed product?
The workflow has four stages: prepare the file, process it through a RIP (raster image processor) or print driver, print onto the substrate, then cure or finish the product. Your file matters most in stage one. Everything downstream depends on what you hand over.
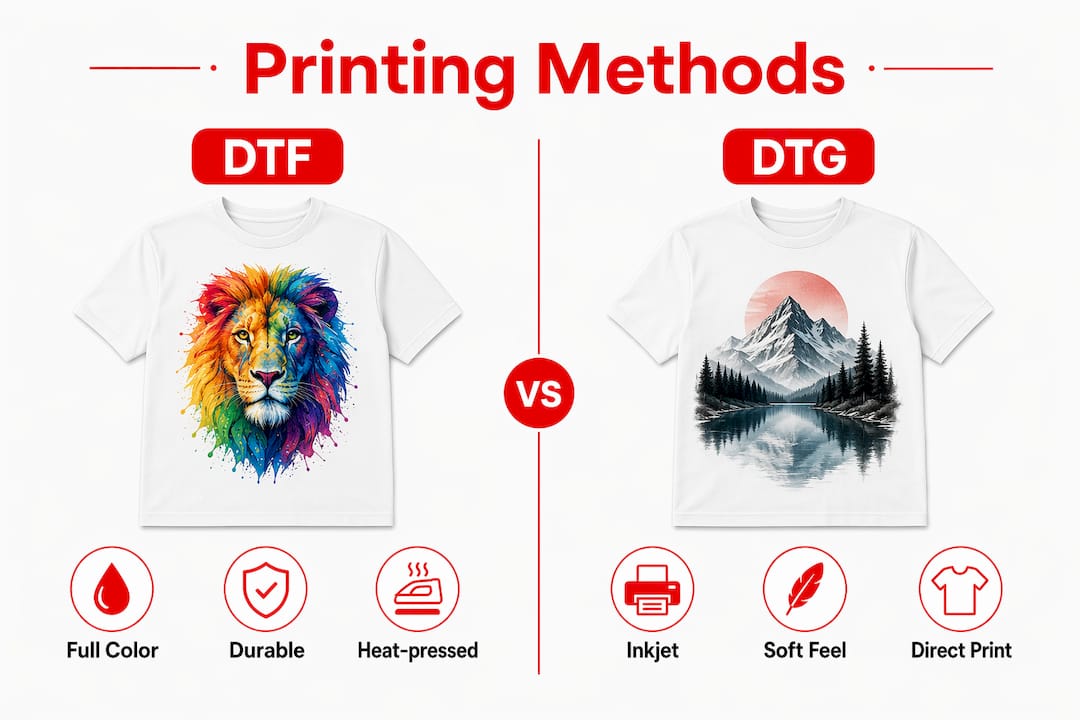
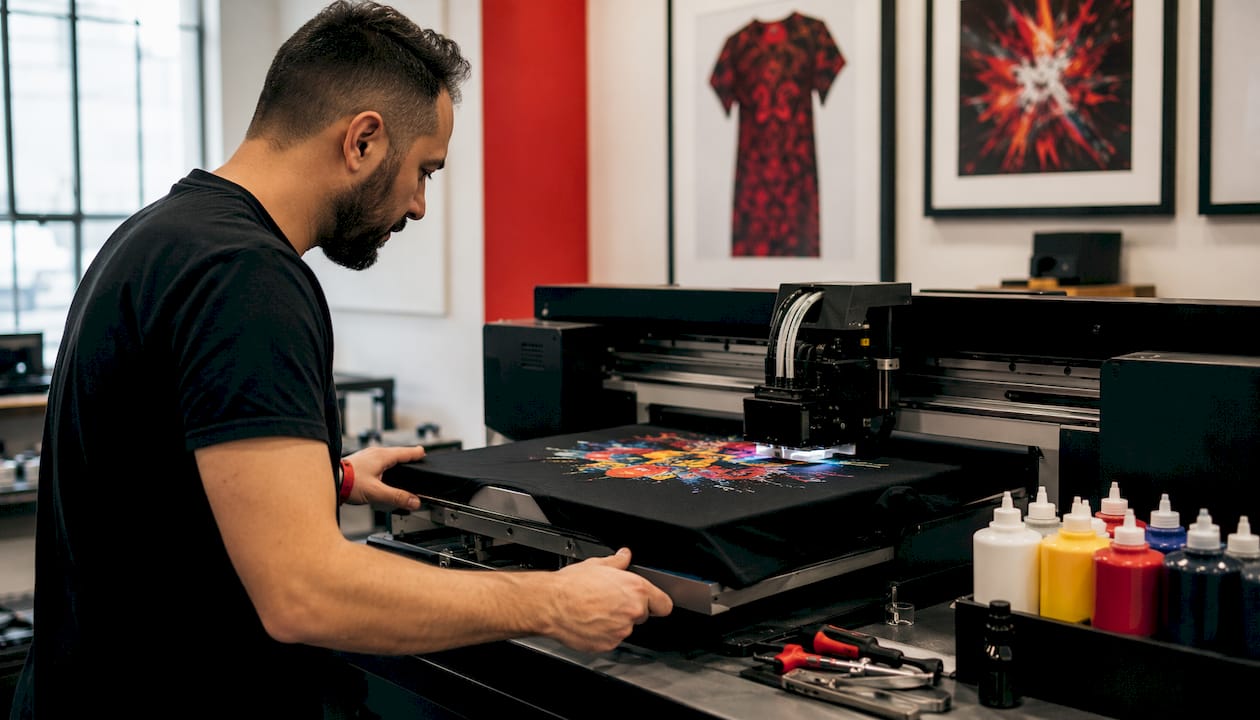
For apparel and promo items, the path diverges from paper printing. A DTF or DTG workflow sends the image through a film or directly onto fabric, while sublimation uses heat to bond dye into coated surfaces like tumblers. Paper and canvas prints typically run through high-volume inkjet or laser printers, where the RIP translates your color data into precise ink droplets. Unlike offset lithography or flexography, none of these methods need plates, which is why short runs and single-piece orders are cost-effective.
What file specs do printers actually require?
Set your canvas to the target print size at 300 DPI before you start designing. Scaling up a small image afterward creates unavoidable softening because software cannot invent pixel data that was never there.
File formats at a glance
| Format | Best use | Compression | Notes |
|---|---|---|---|
| TIFF | Professional labs, archival | Lossless | Largest file size; preferred for fine art |
| Layout, text-heavy files | Lossless | Embeds fonts; consistent across platforms | |
| PNG | Transparent backgrounds, logos | Lossless | Good for sharp line art |
| JPEG | Quick proofs, photos | Lossy | Only save as JPEG after all edits are final |
Avoid printing from screenshots or heavily compressed images — they rarely hold up at print size.
Color space: Use sRGB for most workflows. Some labs request Adobe RGB or CMYK conversion; when they do, supply an ICC profile or ask the shop to handle the conversion. Soft proofing in Photoshop or Affinity Photo with the printer’s ICC profile shows you how colors will shift before anything is printed.
Dos and don’ts:
- Do embed or outline all fonts before exporting
- Do add 0.125–0.25 inch bleed on any edge-to-edge design
- Do name files descriptively (e.g.,
CompanyLogo_10x10_300dpi_CMYK.tif) - Don’t upscale a 72 DPI web image and call it print-ready
- Don’t submit a flattened JPEG when the shop needs layers
Pro Tip: If you’re unsure whether your file is large enough, divide the pixel width by 300 to get the maximum print width in inches. A 1,500-pixel-wide image maxes out at 5 inches before quality drops.
Which printing method should you use for your product?
Method choice determines color handling, durability, and what your file needs to include. Here is a quick breakdown for the most common apparel and promo workflows.
DTF (Direct to Film) prints the image onto a special film, then heat-presses it onto fabric. It handles full color and fine detail on virtually any fabric, including dark garments, without pre-treatment. Files need transparent backgrounds and must be sized to the exact transfer dimensions.
DTG (Direct to Garment) jets ink straight onto the fabric surface. Light garments are straightforward; dark garments require a white underbase layer, which the shop typically handles, but your file needs clean edges and no semi-transparent gradients that would show through the underbase.
Heat transfer and sublimation work differently. Sublimation bonds dye into the substrate using heat, producing vivid, wash-resistant color on polyester fabrics and coated hard goods like tumblers. The file must be mirrored before printing. Sublimation only works on light-colored, coated surfaces, so it is the go-to for personalized tumblers and polyester apparel, not cotton.
High-volume inkjet and laser cover paper, canvas, and rigid substrates. Giclée printing uses archival pigment inks on fine art papers or canvas for museum-quality reproduction. Substrate texture matters: a matte fine art paper absorbs ink differently than a glossy photo paper, which changes perceived color saturation and sharpness.
For customers ordering promotional gifts, substrate finish affects longevity too. A coated tumbler holds sublimation ink for years; an uncoated surface will fade. When in doubt about archival printing choices for gifts, match the substrate to the product’s expected use and exposure.
How to prepare a print-ready artwork file step by step
Start with setting the correct size and resolution to ensure quality output.
- Set canvas dimensions and DPI first. Open your editor, create a new document at the exact final print size, and set resolution to 300 DPI. Do not design at screen resolution and resize later.
- Work in the correct color space. Use sRGB unless the shop specifies otherwise. Switch to CMYK only when the printer requests it.
- Design with bleed. Add 0.125 inch of bleed on all edges that will be trimmed or wrapped. Keep critical elements at least 0.125 inch inside the trim line (the safe zone).
- Use transparent backgrounds where required. DTF and many apparel workflows need a PNG with a transparent background, not a white fill.
- Embed or outline all fonts. A font that is not embedded will substitute on the printer’s system and break your layout.
- Export the final file. Save a master layered file (PSD or TIFF), then export a flattened TIFF or PDF for the shop.
- Name the file clearly. Include size, DPI, and color space in the filename so nothing gets confused in production.
- Include a PDF proof. A low-resolution PDF showing the full layout helps the shop verify placement before printing.
When submitting an order, send the flattened print file, the PDF proof, a note on color expectations, and the intended substrate or product. If last-minute tweaks are likely, include the layered master file too.
Pro Tip: Export a small JPEG at actual pixel dimensions (not scaled down) and open it at 100% zoom on your screen. If it looks sharp at that zoom level, it will print sharp at the intended size.
Why do proofs and test prints matter so much?
Always request a proof or test print for color-critical orders or any run larger than a handful of pieces. A digital proof catches layout and cropping issues. A physical sample catches color shifts that no monitor can predict.
On a proof, check these specifically:
- Color accuracy: Does the print match your screen intent, or has a color shifted?
- Edge sharpness: Are fine lines and text crisp, or do they show haloing or blur?
- Bleed and crop: Is the full image present, or has the edge been clipped?
- Texture and finish: Does the substrate surface interact with the ink the way you expected?
- Alignment: On multi-part pieces (front and back of a shirt, for example), do elements line up?
Soft proofing with an ICC profile in Photoshop or Affinity Photo narrows the gap between screen and print before you spend anything on a physical sample. For large runs or premium substrates, request a physical sample on the actual material. Examine it under the same lighting the finished product will live in — indoor fluorescent light and outdoor daylight render color differently.
What causes most print failures and how do you fix them?
Most print failures come from three sources: low resolution, the wrong color profile, or missing bleed. Each has a fast fix.
- Pixelation: The file lacks enough pixels for the print size. Supply a larger source file or reduce the print dimensions. Never upscale.
- Color mismatch: The file is in a color space the printer did not expect. Soft-proof with the correct ICC profile, or ask the shop which profile to use before exporting.
-
Cropping at the edges: No bleed was included. around all edges that reach the trim line.
- Font substitution: Fonts were not embedded or outlined. Outline all text in your vector editor before export.
Quick pre-upload checklist: file dimensions confirm 300 DPI at print size, color space matches shop requirements, fonts are embedded or outlined, and a flattened PDF proof is included.
How Handmadeohiocrafts handles your files in practice
Handmadeohiocrafts produces custom apparel, DTF transfers, UV DTF decals, laser engraving, tumblers, and promotional products entirely in-house from their Waverly, Ohio facility. No minimum order requirements and nationwide shipping mean a single custom shirt ships the same way a bulk team order does.
Their DTF file requirements page lists exactly what the shop needs: accepted formats, resolution requirements, color space, and how to set up transparent backgrounds for transfer printing. Reviewing that page before you upload prevents the most common submission errors. For customers who need help with artwork file prep, Handmadeohiocrafts also publishes a step-by-step designer’s guide covering DPI calculations, bleed, and format export.
After submission, the shop provides a digital proof for approval before production begins. Turnaround on proofs is fast for standard orders; larger or more complex jobs may require an extra day for file review.
Key Takeaways
Print-ready digital files require 300 DPI at final print dimensions, the correct color space, a supported format (TIFF, PDF, or PNG), and bleed on any edge-to-edge design before submission.
| Point | Details |
|---|---|
| Resolution rule | Set 300 DPI at final print size; an 8×10 print needs at least 2,400×3,000 pixels. |
| Format choice | TIFF for labs, PDF for text layouts, PNG for transparent backgrounds, JPEG only after final edits. |
| Proof before full run | Request a physical test print for color-critical or large orders; check color, sharpness, and bleed. |
| Substrate affects output | Fabric type, coating, and surface texture change ink absorption, color, and durability. |
| Handmadeohiocrafts | Review the DTF file requirements guide before uploading to avoid delays and ensure a clean proof. |
The part most customers underestimate
The file is only half the equation. The other half is communication about how the product will actually be used.
A shirt worn once for a photo shoot has different durability needs than a uniform washed twice a week. A tumbler given as a corporate gift lives on a desk; one used daily in a gym bag takes more abuse. These details change which method and substrate make sense, and they affect how the shop sets up the file. Customers who share that context upfront get better results than those who simply upload a file and wait.
Allow time for a test print on any new substrate or color combination. Small corrections to a proof, like a minor crop adjustment or a brightness tweak, typically add a day. A major rework, like discovering the artwork needs to be rebuilt at a higher resolution, can push production by several days and sometimes requires a new file entirely. Sending the right file the first time is genuinely faster than fixing it later.
Handmadeohiocrafts makes file prep and production straightforward
Skip the guesswork of finding a shop that can handle your file type. Handmadeohiocrafts accepts the formats and specs covered in this guide, reviews every file before printing, and produces everything in-house so quality stays consistent from proof to finished product.
Whether you need custom apparel for a team, DTF transfers for an event, laser-engraved tumblers for a corporate gift, or a single personalized item, there is no minimum order and shipping goes nationwide. Check the DTF transfers page for a full overview of what Handmadeohiocrafts offers, then upload your artwork or reach out to get a proof started.
Useful sources
A short list of references worth bookmarking when preparing files or verifying specs:
- Handmadeohiocrafts DTF File Requirements — The authoritative spec sheet for submitting artwork to Handmadeohiocrafts; covers accepted formats, resolution, color space, and transparent background setup.
- KCAI Art Supplies: How to Format Digital Artwork for Printing — Clear explanation of the 300 DPI rule with pixel-dimension math; useful for verifying your file before export.
- Image Science: Preparing Test Prints — Practical guidance on running test strips and evaluating color under correct lighting conditions.
- University of Chicago Press: Print File Format Guidance — Authoritative reference on preferred formats and what to avoid when submitting files for professional printing.